Stem Stitch: A Rope-Like Line for Stems and Curves
Stem stitch makes a slightly raised, twisted line that follows curves beautifully. Learn the three numbered points and the one rule that matters: keep the thread on the same side.
Tutorial at a glance
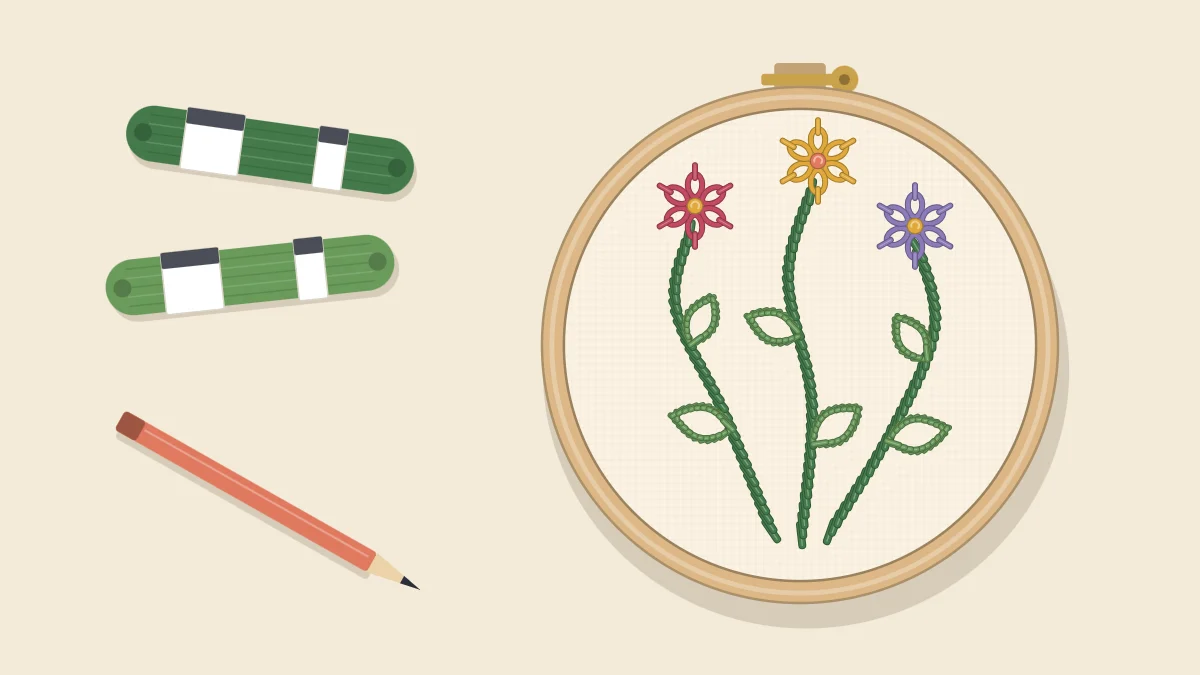
Materials
- Plain woven cotton or linen-blend fabric
- 6-inch (15 cm) embroidery hoop
- Embroidery needle
- Six-strand cotton floss
- Pencil or water-soluble pen
- Small scissors
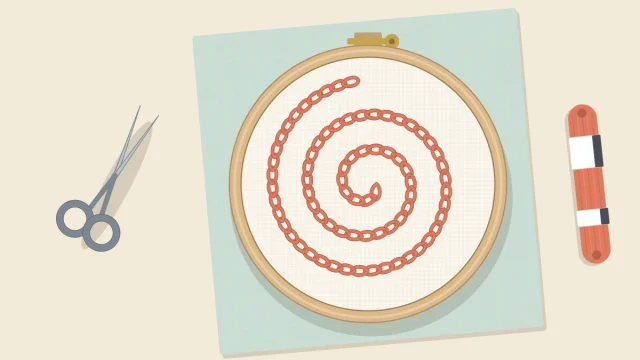
Look closely at a line of stem stitch and it resembles a fine twisted rope. Each stitch overlaps the one before it by half its length and sits at a slight slant, so the line has a little height and a diagonal texture that a flat outline does not. As the name suggests, it is the traditional choice for flower stems, vines and tendrils, and it follows curves more gracefully than almost any other line stitch.
The movement is simple. The one rule that makes or breaks the stitch is where the loop of working floss lies while the needle comes up: always on the same side of the line.
What You Need
Hoop a piece of plain woven cotton or linen blend so it is taut. Draw a straight line and a couple of long, gentle curves. Two or three strands of floss is a good starting point, because the twist is easier to see with a little thickness. Cut the floss no longer than your forearm, since a long thread twists and tangles more.
How to Work Stem Stitch Step by Step
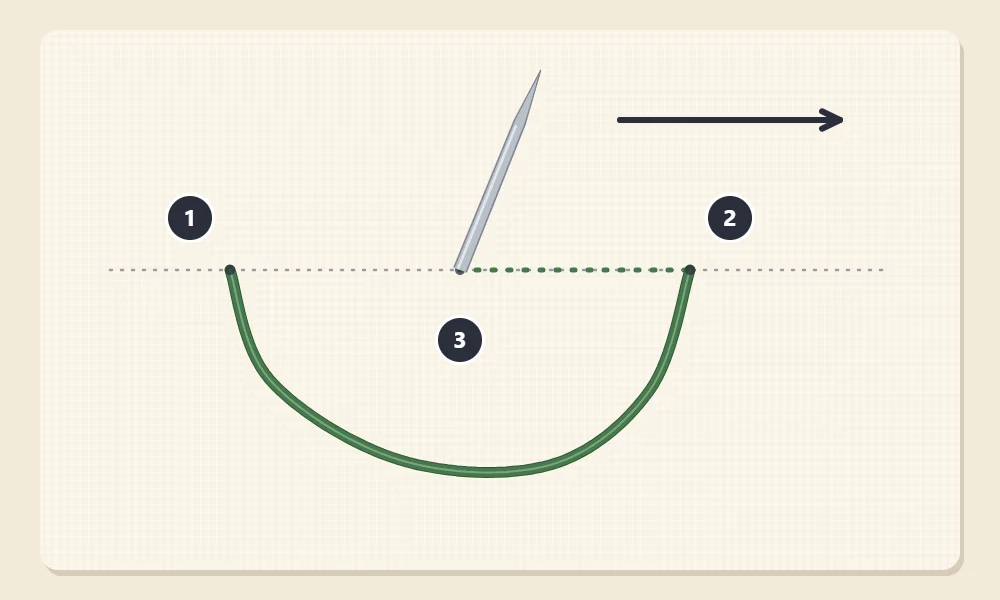
These steps describe working from left to right with the loop held below the line, as in the diagram. Left-handed stitchers can mirror them and work from right to left. The numbers match the diagram.
- Come up at 1. Bring the needle up from the back at the left-hand end of the line.
- Go down at 2. Push the needle down one stitch length to the right, on the line. About 3/16 inch (5 mm) is comfortable for practice. Do not pull the floss all the way through. Leave a loose loop on the surface.
- Hold the loop below the line. Use the thumb of your other hand to keep the loop of working floss out of the way, underneath the line.
- Come up at 3. Bring the needle up on the line, halfway between 1 and 2, with the loop still below. Now pull the floss through until the first stitch lies flat.
- Make the next stitch. Go down one stitch length to the right of 3, which is half a stitch beyond 2. Leave a loop, hold it below the line, and come up at 2, in the hole where the previous stitch ended.
- Repeat along the line. Each stitch moves forward a whole length and comes back up half a length, at the end of the stitch before. Keep the loop below the line every time.
- Finish. At the end of the line, take the needle down and do not come back up. Secure the floss on the back.
Once you have the rhythm, the line builds quickly. On the back of the fabric you should see a neat row that looks like backstitch.
Why the Thread Must Stay on the Same Side
The slant of each stitch comes from the floss emerging on one side of the previous stitch. If the loop is below the line every time, every stitch slants the same way and the rope effect is continuous. If the loop flips to the other side for even one stitch, that stitch slants the opposite way and shows up as a visible kink in the line.
Watch out
The loop most often flips when you turn the hoop or pick the work up again after a break. Before the needle comes up, glance at the loop and check it is on the same side as before.
Stem Stitch and Outline Stitch
If you keep the loop above the line instead of below it, you are working outline stitch. The mechanics are identical, but the twist slants in the opposite direction.
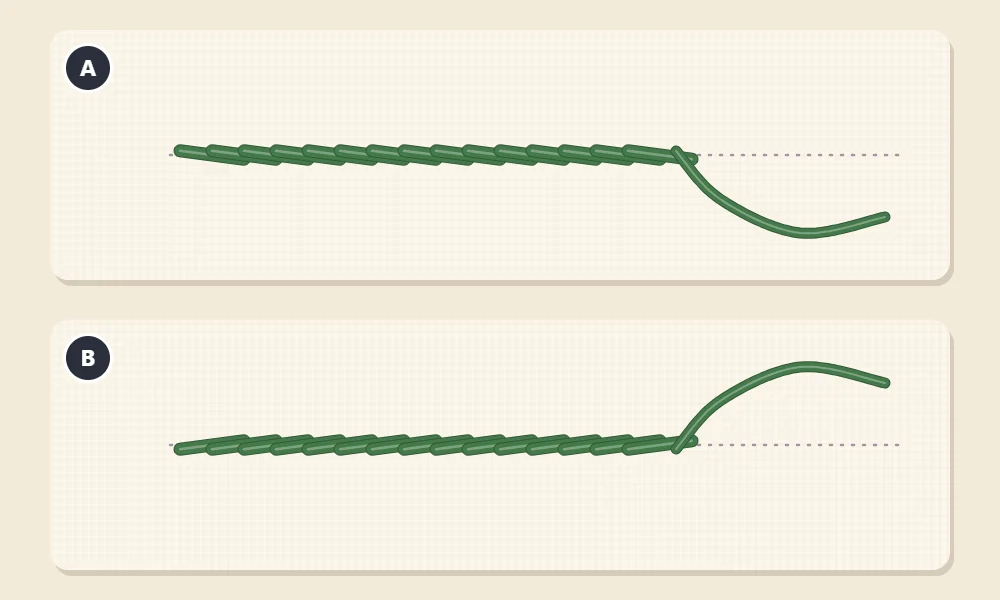
Neither is wrong. Many patterns use the two names loosely, and plenty of stitchers use whichever feels more natural. What matters is choosing one and staying with it for the whole line. The difference becomes useful on curves, which is covered next.
Working Curves
Stem stitch is at its best on curves, as long as you adjust two things.
- Shorten the stitches. On a gentle curve, the practice length is fine. On a tight curve or a small circle, reduce the stitches to about 1/8 inch (3 mm) or less so they hug the line instead of cutting across it.
- Keep the loop on the outside of the curve. When the working floss is held on the outer side of the bend, the stitches tuck in smoothly and the rope stays tight. If the loop is on the inside, the stitches tend to stand away from the line. On a line that bends one way only, pick stem or outline stitch accordingly.
On an S-shaped line the curve changes direction, and you cannot switch sides partway without a kink. Simply keep the loop on the same side throughout and use shorter stitches where the stitches start to lift.
Getting an Even Rope
- Come up on the line. Bringing the needle up right on the marked line, in the hole at the end of the previous stitch, gives a slim cord. Coming up slightly beside the line gives a wider, more slanted one. Either can look good if you are consistent.
- Keep the stitches the same length. Uneven stitches make the twist look irregular.
- Watch the floss. Floss twists or untwists as you work. Let the needle hang freely every so often so the thread can relax, or the rope will look tight in some places and loose in others.
- Do not pull hard. A tight pull flattens the twist and can pucker the fabric. The guide to embroidery thread tension shows what even stitches look like.
Where to Use Stem Stitch
Stems are the obvious place: a line of stem stitch with a few lazy daisy leaves is a complete sprig. It is also a good outline for rounded shapes, script lettering and anything that should look soft and hand-drawn. Rows of stem stitch worked side by side, all slanting the same way, make a textured filling for small areas.
For sharp corners and tiny print, backstitch is easier to control, so many designs use both: backstitch for the crisp details and stem stitch for the flowing lines.
To put the stitch to work on a real piece, the simple floral wreath uses a full ring of stem stitch as its base, and the spring flower hoop uses it for every stem.
Frequently asked questions
What is the difference between stem stitch and outline stitch?
The movement is the same. In stem stitch the working thread is kept below the line, and in outline stitch it is kept above, which makes the twist slant the opposite way.
Why does my stem stitch have a kink in it?
The loop of working thread ended up on the wrong side of the line for one stitch. Check the loop before the needle comes up, especially after turning the hoop.
How long should stem stitches be?
About 3/16 inch (5 mm) works for straight lines and gentle curves. Shorten them to about 1/8 inch (3 mm) or less on tight curves.
How many strands should I use for stem stitch?
Two or three strands is a good starting point. Fewer strands give a finer cord and more strands give a bolder, more textured line.