Simple Floral Wreath Embroidery for Beginners
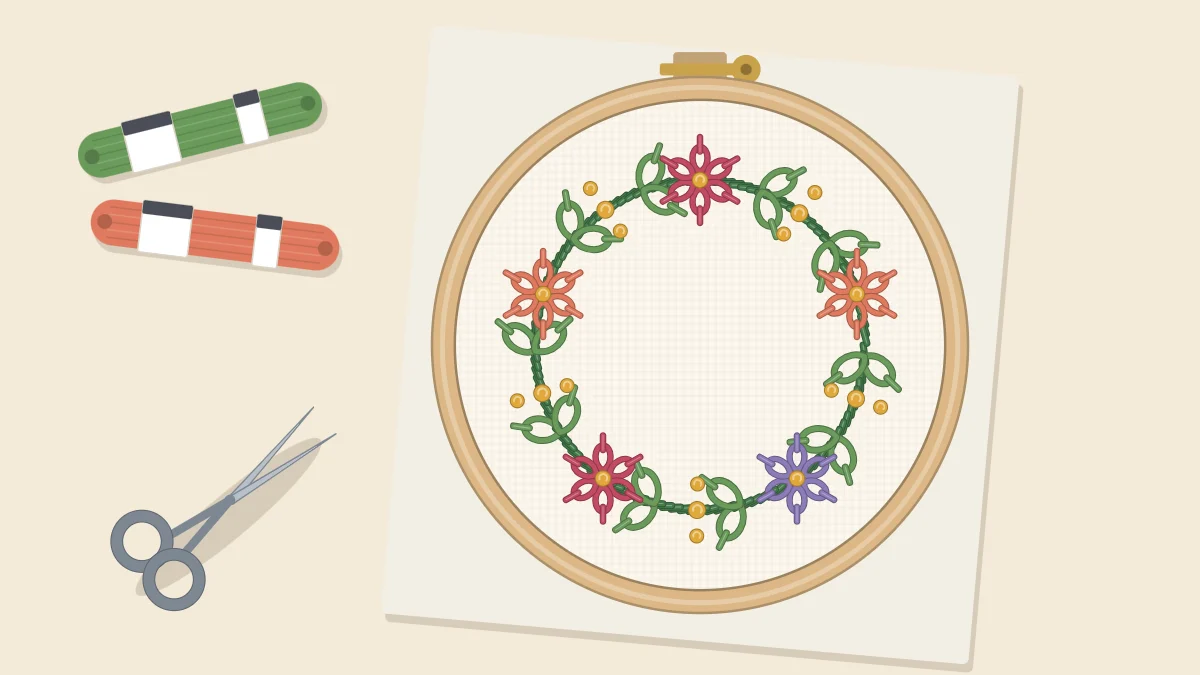
Draw a circle around a glass, stitch it in stem stitch, then add lazy daisy leaves, five small daisies and French knot buds. A forgiving first floral design for a 6-inch hoop.
Tutorial at a glance
Materials
- 6-inch (15 cm) embroidery hoop
- 9-inch (23 cm) square of light medium-weight cotton or linen
- Six-strand cotton floss in two greens, a flower color, yellow and a bud color
- Embroidery needle
- Small sharp scissors
- Glass or jar about 3 1/2 inches (9 cm) across
- Pencil or water-soluble fabric pen
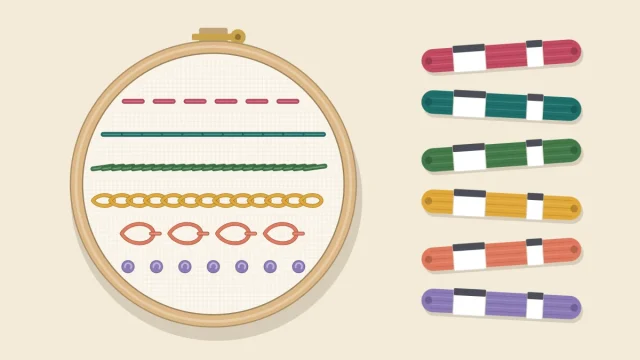
Turn a drinking glass upside down on your fabric, run a pencil around the rim, and the hardest part of a wreath design is already done. Everything else is built on that circle with three stitches: stem stitch for the ring, lazy daisy for the leaves and petals, and French knots for the buds and flower centers. Because the leaves and flowers repeat all the way around, small differences between them disappear into the overall pattern, which makes a wreath a forgiving first floral.
What You Need
- A 6-inch (15 cm) embroidery hoop
- A 9-inch (23 cm) square of light, medium-weight cotton or linen
- Six-strand cotton floss: two greens (one mid, one lighter or darker), one flower color, one yellow or gold, and one bud color
- An embroidery needle and small sharp scissors
- A glass or jar with a rim about 3 1/2 inches (9 cm) across
- A sharp pencil or water-soluble fabric pen
Marking the Circle and the Flower Positions
- Press the fabric and lay it flat on a hard table. Set the inner ring of the hoop in the middle of the square so you can see the working area.
- Place the glass rim-down in the middle of the ring. Check by eye that the gap between the rim and the ring is the same all the way around, about 1 1/4 inches (3 cm) for these sizes.
- Hold the glass firmly, draw around it with a light, continuous line, then lift the glass and the ring away.
- Mark five flower positions on the circle with small crosses, spaced evenly like the five points of a star, and number them 1 to 5 in order around the circle.
- Step back and look. If two crosses look closer together than the others, nudge them before you stitch anything.
- Mount the fabric in the hoop with the pencil circle centered, and tighten it until the fabric is taut without pulling the circle into an oval.
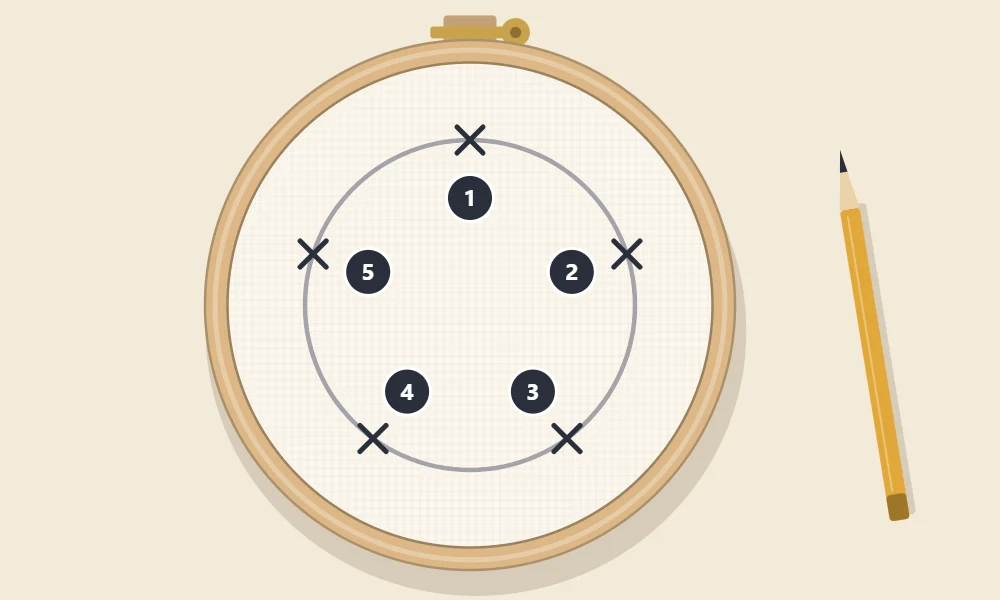
Tip
No glass of the right size? Any round object works: a jar lid, a roll of tape, a small bowl. Aim for a circle a little more than half the width of your hoop so the leaves have room on both sides.
Step 1: Stitch the Ring in Stem Stitch
Thread the needle with three strands of the mid green. The ring is stitched all the way around, straight through the five crosses; the flowers will sit on top of it later.
- Bring the needle up anywhere on the circle and go down about 1/8 inch (3 mm) along the line.
- Before pulling the thread tight, come up again halfway back along that stitch, holding the loop of working thread toward the outside of the circle.
- Pull through and repeat, keeping the thread on the outside of the circle for every stitch. This is what gives the line its even, rope-like twist.
- Keep the stitches short. A circle is one continuous curve, and long stitches cut across it and make corners.
- Turn the hoop as you go so you are always stitching in a comfortable direction.
- When you reach the start, take the last stitch down into the hole of the first stitch so the join disappears.
If the twist looks different in places, the thread slipped to the other side for a stitch or two. The stem stitch guide explains how to keep it consistent.
Step 2: Add Lazy Daisy Leaves
Switch to two strands. Each leaf is one lazy daisy stitch about 3/8 inch (1 cm) long.
- Bring the needle up right beside the ring. Go back down in the same hole, leaving a loop on the surface.
- Come up about 3/8 inch (1 cm) away, inside the far end of the loop, and pull gently until the loop lies flat with a little width to it.
- Take a tiny stitch over the tip of the loop to anchor it.
- Work in pairs: one leaf angled to the outside of the ring and one to the inside, both leaning the same way around the circle, like leaves on a real stem.
- Place a pair roughly every 1/2 inch (1.3 cm), leaving a clear space about 1/2 inch (1.3 cm) wide around each cross.
- Complete the left half of the ring first, then stop and compare it with the unstitched right half before continuing.
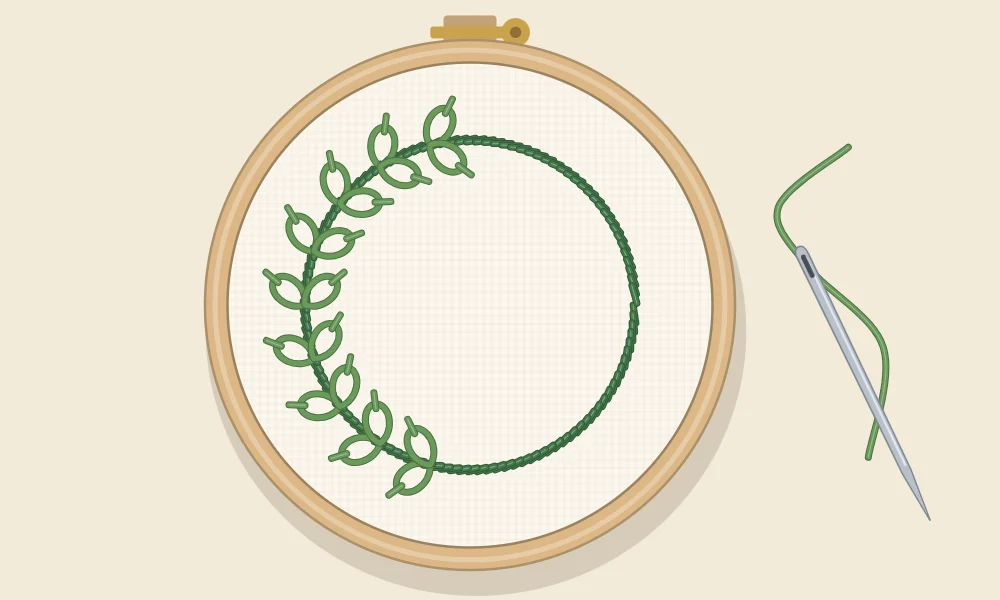
Working one half at a time lets you correct course. If the leaves on the first half look sparse, tuck single leaves between the pairs. Alternate the two greens every few pairs for a more natural look.
Step 3: Stitch the Five Daisies
Each flower is a ring of five lazy daisy petals around one of the numbered crosses. Use two strands of the flower color.
- Start at cross 1. Bring the needle up just beside the center of the cross and make a lazy daisy petal about 1/4 inch (6 mm) long, pointing away from the center.
- Work four more petals around the center, all starting close to the same point and spaced evenly like the spokes of a wheel. Petals that cross the green ring simply sit on top of it.
- Repeat at crosses 2, 3, 4 and 5.
- Thread two strands of yellow and work one French knot in the center of each flower: come up in the middle, wrap the thread twice around the needle, and go down right beside where you came up, not into the same hole.
Leave the petals a little plump. Pulling the loops tight turns petals into thin lines and can pucker the fabric.
Step 4: Scatter French Knot Buds
With two strands of the bud color, add small groups of two or three French knots in the spaces between flowers, close to the ring and nestled among the leaves. Five or six groups are usually enough. Place them where the wreath looks thin, and keep the knots within a group close together so they read as one cluster.
Watch out
End the thread after each flower center and each group of buds rather than carrying it across the back to the next one. A long thread on the back can show through light fabric as a shadow inside the wreath.
Balancing the Layout
Hold the hoop at arm’s length, or prop it up and step away, and look at the wreath as a whole rather than stitch by stitch.
- Weight: the wreath should look equally full all the way around. Add a leaf or a knot to any section that looks bare.
- Direction: all the leaves should lean the same way around the ring. A single leaf pointing backward stands out more than you would expect.
- Color: the bud color should appear in at least three places around the circle, not gathered on one side.
Finishing and Ideas for the Center
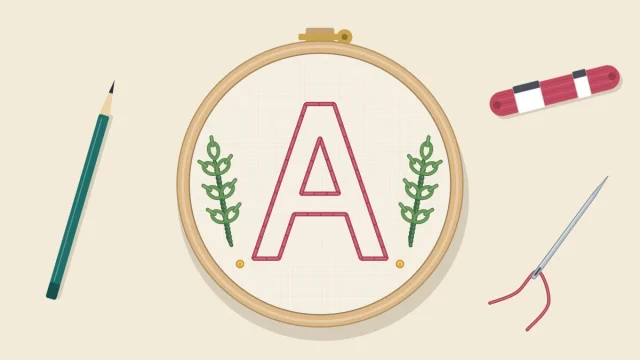
Remove any visible pencil or pen marks as your marking tool allows. The empty middle of the wreath is a natural frame: add a small backstitched initial, a short word or a date, or leave it open. To display the piece in its hoop, trim the spare fabric and gather it behind the ring as described in how to finish the back of an embroidery hoop.
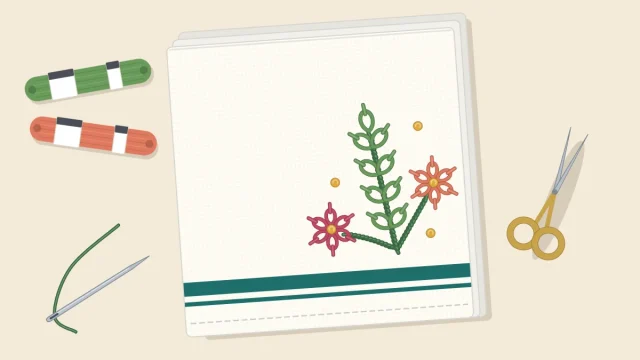
For a different arrangement of the same stitches, try the row of flowers in the spring flower embroidery hoop.
Frequently asked questions
How big should the circle be for a wreath in a 6-inch hoop?
About 3 1/2 inches (9 cm) across is a good starting point. That leaves roughly 1 1/4 inches (3 cm) between the circle and the hoop for leaves and flowers on the outside.
Can I use backstitch instead of stem stitch for the ring?
Yes. Backstitch gives a flatter, thinner line, while stem stitch gives a slightly raised, rope-like one. Keep the stitches short either way so the circle stays round.
How do I space the five flowers evenly?
Make the first mark anywhere on the circle, then place the other four as if they were the remaining points of a five-pointed star. Check the gaps by eye and adjust the marks before stitching.
What can I put in the middle of an embroidered wreath?
An initial, a short word, a name or a date all fit well, usually in backstitch. Leaving the center empty is also a perfectly good choice.