How to Finish the Back of an Embroidery Hoop
Center the design, trim the fabric to a circle, gather it with a line of running stitch and cover the back with felt. A simple, reversible way to make a stitched hoop ready to hang.
Once the last stitch is in, the front of a hoop looks finished while the back is still a loose square of fabric flapping around the frame. Closing up that back is a short, calm job: center the design, trim the fabric to a circle, gather it with one line of running stitch and, if you like, cover everything with felt. For a 6-inch (15 cm) hoop, allow about 20 to 30 minutes.
What You Need
- The finished embroidery, clean, dry and pressed
- The hoop the piece will be displayed in
- Sharp fabric scissors
- A needle and a long length of strong thread (sewing thread used double, or three strands of floss)
- Optional: a piece of felt, a pencil and a few pins
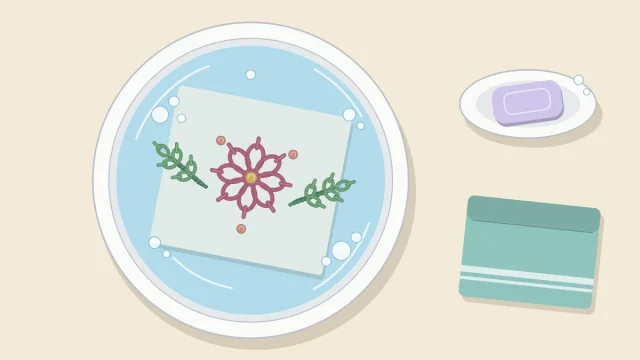
Deal with pattern marks and hoop creases before you start. It is far easier to wash and press the embroidery while it is still a flat piece of fabric than after it has been gathered into a frame.
Center and Tighten the Design
Everything else depends on this step, because once the fabric is trimmed there is very little room left to shift the design. Lay the fabric over the inner ring, press the outer ring down over it and look at the piece from arm’s length. Check three things: the design sits in the middle, the screw is at the top of the design, and the weave of the fabric runs straight up and down rather than at a slant.
Tighten the screw a little, pull the fabric gently all the way around, then tighten again until the surface feels firm like a drum. The method is the same one you use when you put fabric in a hoop for stitching, only this time it is for good, so take a moment longer over it.
Watch out
Trimming cannot be undone. Look at the front one more time, in good light, before you pick up the scissors.
Trim and Gather the Fabric
This is the glue-free method. It is the one most beginners are taught first because it holds well and can be reversed later if you want to reuse the hoop or reframe the piece.
- Turn the hoop face down on a clean surface.
- Trim the excess fabric to a circle about 1 inch (2.5 cm) wider than the hoop all the way around. On a small hoop, a slightly narrower margin is easier to handle. Cut slowly and keep the margin even.
- Thread a needle with a length of strong thread a little longer than the distance around the hoop, plus enough to tie off. Knot the end.
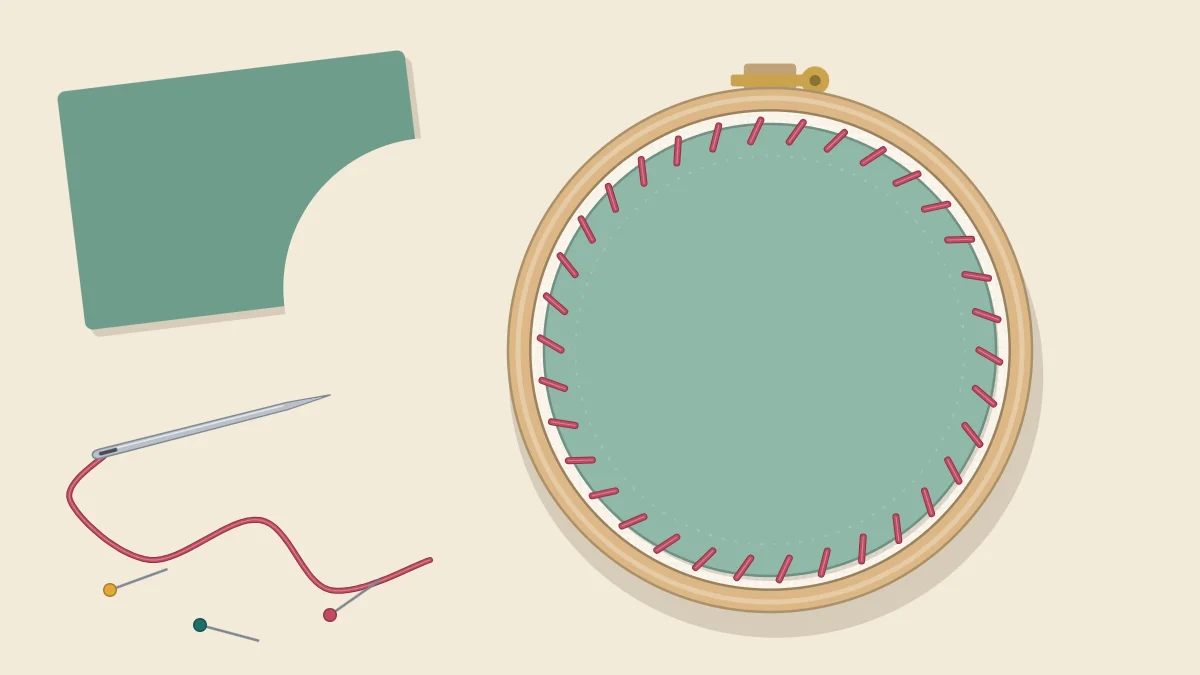
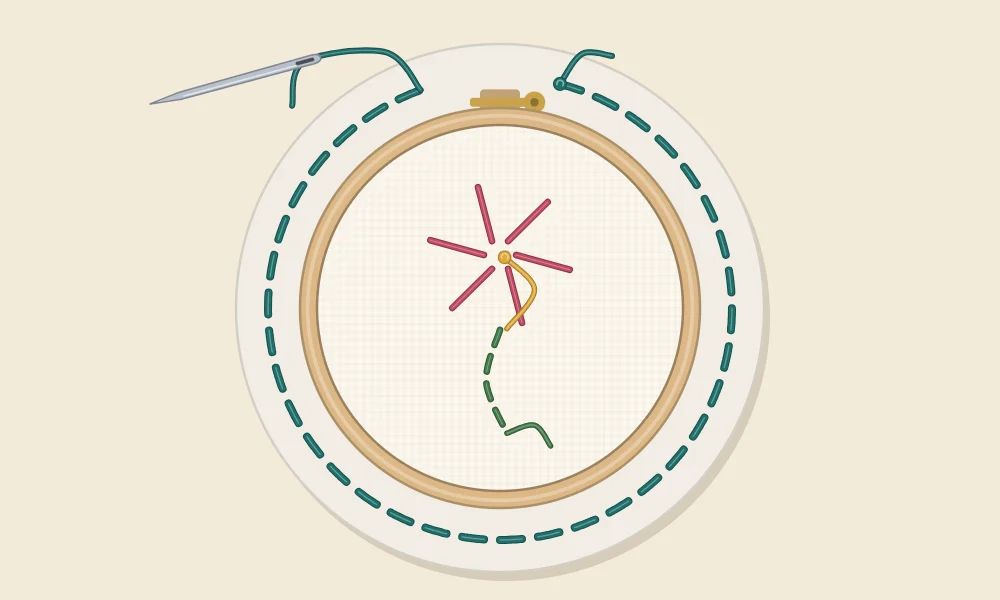
- Work a line of running stitch around the fabric margin, roughly halfway between the hoop and the cut edge. Stitches about a quarter to half an inch (6 to 12 mm) long are fine here; they are only there to gather the fabric.
- Stop when you are back at the knot. Do not cut the thread yet.
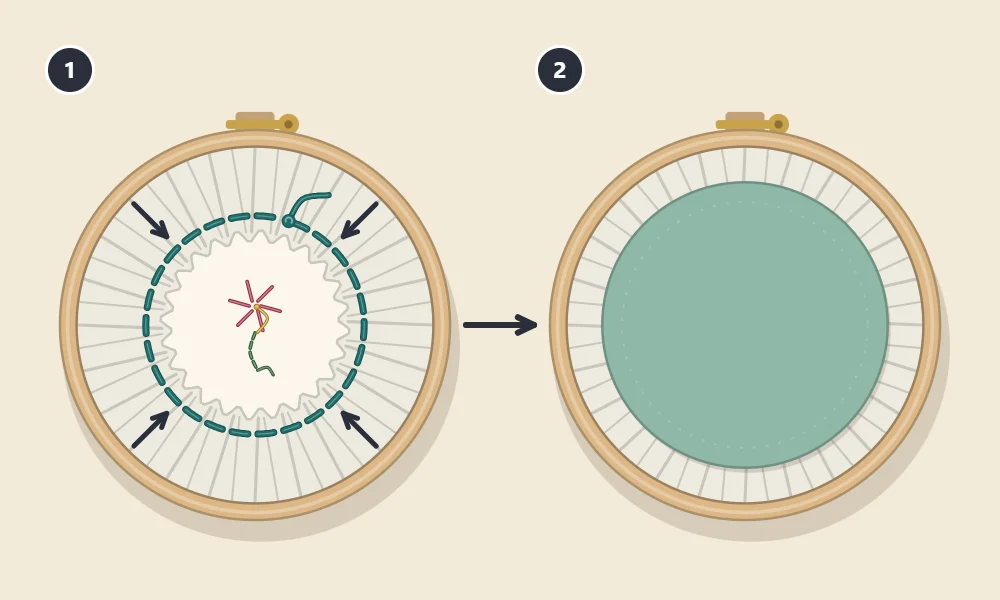
- Pull the working thread steadily. The margin folds over the inner ring and cinches in toward the center of the back, as in stage 1 of the picture below.
- Spread the gathers with your fingers so they lie evenly rather than bunching on one side.
- Hold the tension, take two or three small stitches on top of each other in the gathered fabric, and knot the thread. Trim the tail.
- Turn the hoop over and check the front. If the gathering has pulled the fabric off center, loosen the knot now and adjust.
For a piece that will hang on a wall, you can stop here. The back is tidy enough, the gathers are hidden against the wall, and nothing is glued.
Add a Felt Backing
A felt circle hides the gathers and the back of the stitching, which matters for gifts and for ornaments that can turn around on their ribbon. It is optional, and it adds about ten minutes.
- Lay the hoop on the felt and trace around its outer edge with a pencil.
- Cut the circle out about a quarter inch (6 mm) inside the line, then check it against the back of the hoop. It should cover the gathers and sit just inside the wooden edge. Trim a sliver off if it overlaps.
- Place the felt over the gathers (stage 2 in the picture) and hold it with two or three pins.
- Sew it on with small stitches around the edge, catching the felt and the gathered fabric underneath. A whipstitch or a blanket stitch both work. Keep the needle in the gathered layer only, so nothing shows on the front.
- Finish with a small knot tucked under the edge of the felt.
Tip
Choose felt in a color close to the fabric or the hoop, and sew it on with matching thread. Small differences in stitch size then disappear.
Glue-Free or Glue: Which Method to Use
Some stitchers skip the gathering thread and glue the fabric margin to the inside of the inner ring instead. Both approaches are common. The table shows the trade-off.
| Method | How It Holds | Can It Be Undone? | Good For |
|---|---|---|---|
| Gathering stitch | A drawn-up running stitch in the fabric margin | Yes, snip the thread and the fabric is free | Pieces you may reframe, wash or re-tension later |
| Gathering stitch plus felt | As above, with a felt circle sewn over the gathers | Yes, with a little unpicking | Gifts and ornaments seen from both sides |
| Glue | Fabric margin stuck to the inside of the inner ring | No, treat it as permanent | Quick decorative pieces you will not need to adjust |
If you choose glue, trim the margin narrower so it fits against the inside of the inner ring, use a thin line of craft or fabric glue, and keep it well away from the front of the work. Press the fabric down a section at a time and let it dry fully before hanging. Be aware that some glues can stiffen or discolor fabric over time, which is one reason many stitchers prefer thread for pieces they care about.
Hanging the Finished Hoop
The screw at the top is a ready-made hanger. For a plain look, rest the metal fitting on a small nail or hook. For something softer, thread a ribbon or a length of twine through the gap under the screw and tie it in a loop; the same idea, scaled down, is used for mini hoop Christmas ornaments.
A few details make a displayed hoop last longer:
- Hang it out of direct sunlight, which can fade both fabric and floss.
- Keep it away from steam and cooking splashes, so avoid the wall right beside a stove or a shower.
- If the fabric slackens over the months, tighten the screw a quarter turn. With a glue-free back, you can also loosen the gathers and pull the fabric taut again.
Not every hoop is pleasant to look at as a frame. If the one you stitched in is scuffed or stained, move the piece to a fresh one before finishing; the guide on choosing an embroidery hoop explains the difference between a working hoop and a display hoop.
Frequently asked questions
Do I have to cover the back of an embroidery hoop with felt?
No. A gathered back is tidy enough for a hoop that hangs against a wall. Felt is mainly worth adding for gifts and for ornaments that can be seen from both sides.
How much fabric should I leave around the hoop before gathering?
About 1 inch (2.5 cm) beyond the hoop is a good starting point for a medium hoop. On a very small hoop a slightly narrower margin is easier to gather neatly.
Can I take the embroidery out of the hoop again after finishing it?
With the gathering stitch method, yes: snip the gathering thread and the fabric comes free. A glued back should be treated as permanent.
What thread should I use for the gathering stitch?
Any strong thread works, such as sewing thread used double or three strands of floss. It needs to survive a firm pull without snapping, and it will not be seen from the front.