How to Put Fabric in an Embroidery Hoop
Layer the inner ring, fabric and outer ring, then tighten in stages while pulling gently at four points. Here is how to get fabric drum-tight without skewing the weave.
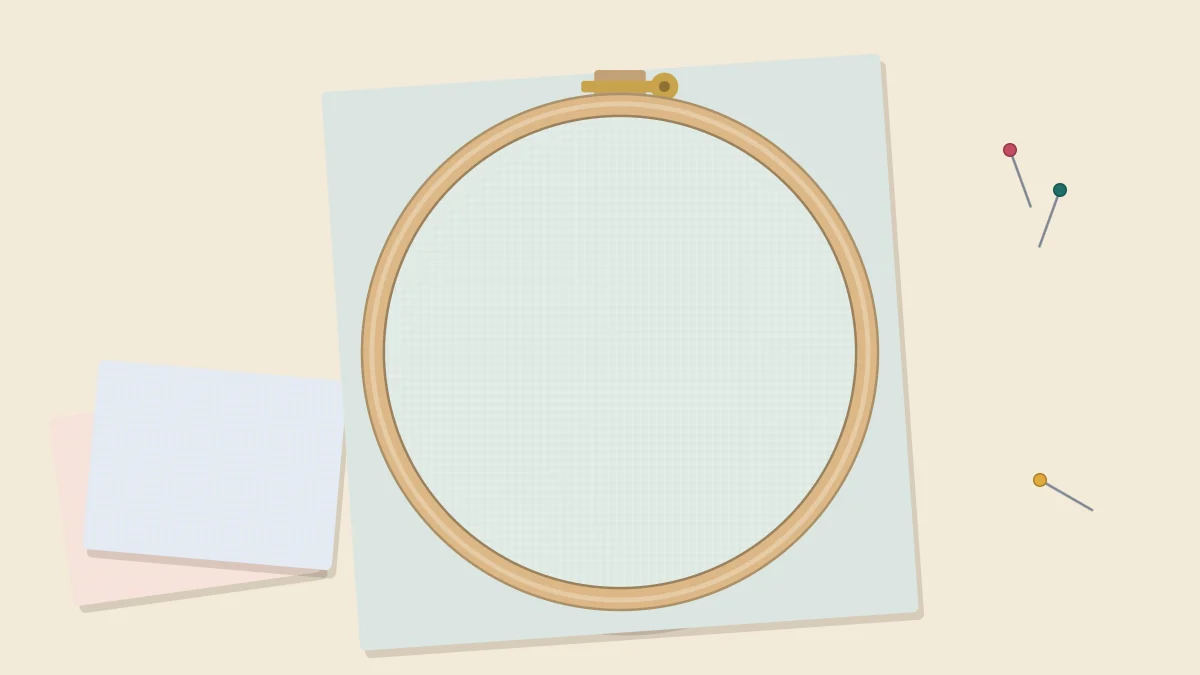
Tap a well-hooped piece of fabric with a fingertip and it gives a faint, drum-like thump. That tension is what makes stitches sit flat: the needle passes cleanly through a firm surface, and the fabric cannot gather up under the thread. Slack fabric does the opposite. It bounces under the needle, stitches pull it into wrinkles, and the wrinkles stay when the hoop comes off.
Hooping takes about two minutes. The trick is to tighten in stages instead of all at once.
How a Hoop Works
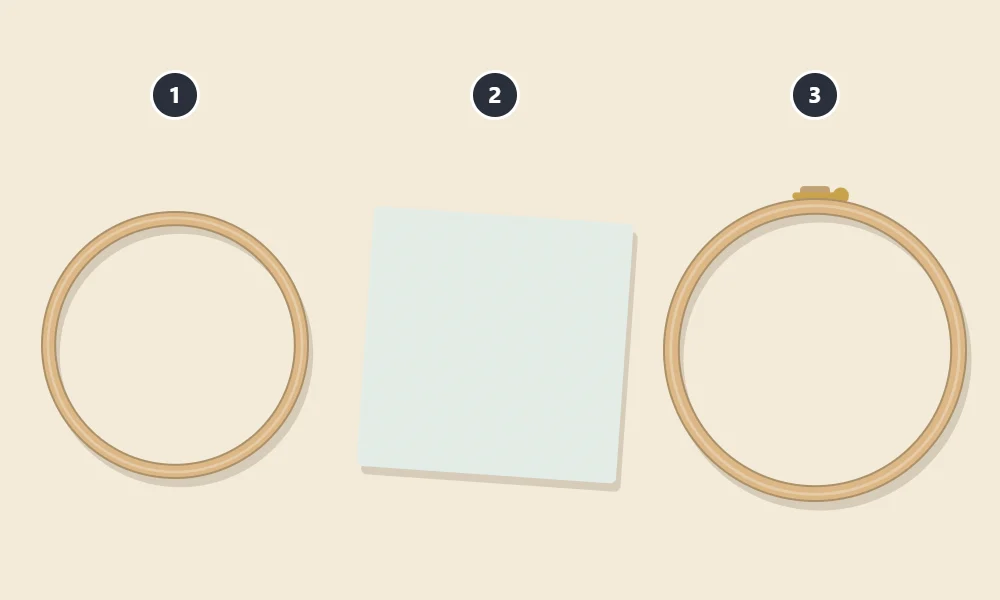
An embroidery hoop is two rings that fit one inside the other. The inner ring is a plain, closed circle. The outer ring has a gap bridged by a screw, so it can be opened wider or squeezed tighter. Fabric is trapped between the two, and the screw sets how hard they grip.
If you are still deciding on a size or type, how to choose an embroidery hoop compares the options.
Prepare the Fabric
A few minutes of preparation saves trouble later.
- Cut it large enough. The fabric should extend at least about 2 inches (5 cm) beyond the hoop on every side. Less than that and there is nothing to hold when you pull it taut, and the edge may slip out of the rings.
- Press out creases. A hoop stretches fabric but does not remove sharp fold lines. Iron the fabric first, following its care label, and keep hot irons away from children.
- Transfer the design first. Tracing a pattern is much easier on flat fabric than on fabric already stretched in a hoop.
Fabric choice matters as well. Medium-weight woven cotton and linen blends hoop easily, while stretchy knits distort as soon as they are pulled. See the best fabric for embroidery for what to look for.
Hooping the Fabric Step by Step
- Separate the rings. Loosen the screw on the outer ring (3) several turns and lift it off the inner ring (1).
- Lay the inner ring flat. Put the inner ring on a table or other hard surface.
- Place the fabric. Lay the fabric (2) over the inner ring, right side up, with the design centered in the circle. Smooth it with your hands.
- Set the screw gap. Adjust the screw so the outer ring is just loose enough to push down over the fabric with firm pressure. If it drops on with no resistance, tighten the screw a little and try again.
- Press the outer ring on. Hold the outer ring level and push it straight down over the fabric and inner ring until the two rings are flush. Many stitchers keep the screw at the top, out of the way of the working thread.
- Tighten partway. Give the screw a few turns so the rings grip the fabric but still let it move when pulled.
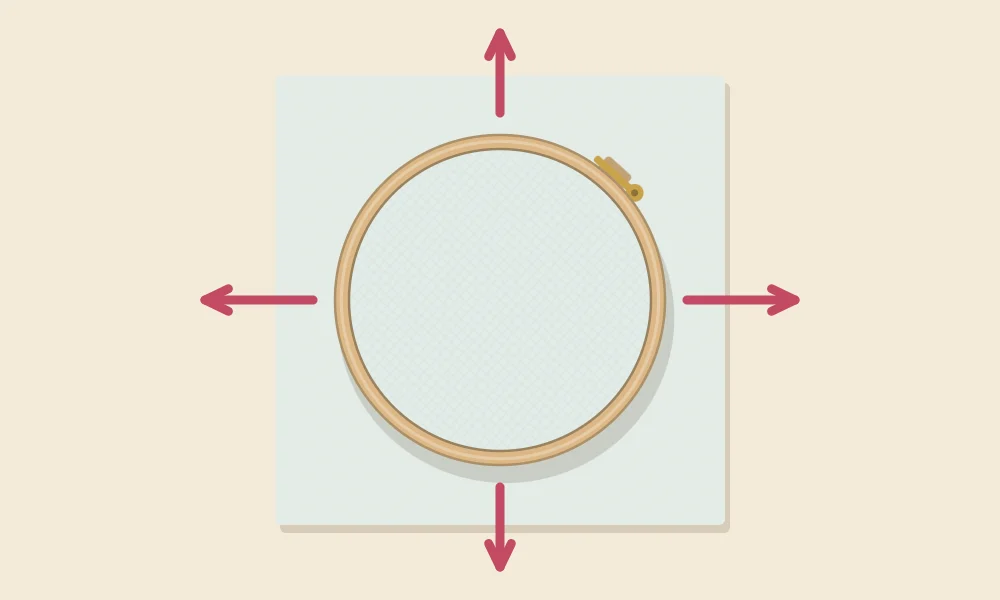
- Pull the fabric taut. Gently pull the fabric outward at the top, bottom, left and right, a little at a time, as the arrows in the diagram show. Work around the hoop until the slack is gone.
- Tighten and repeat. Turn the screw a bit more, pull gently again at the same four points, and finish by tightening the screw firmly with your fingers.
Watch out
Pull in small, even amounts. One hard tug in a single direction drags the weave out of line, and a design stitched on skewed fabric looks distorted once the hoop comes off.
The Drum-Tight Test
Tap the center of the fabric with a fingertip. It should feel firm, spring back at once and make a soft drumming sound. Then press lightly in the middle: the fabric should give only slightly.
If it dips or ripples, there is still slack. Loosen nothing; simply pull gently at the four points again and tighten the screw. If the fabric is taut but the weave looks stretched into curves, it has been pulled too hard in one place. Loosen the screw, let the fabric relax and start the tightening rounds again.
Hoop tension and stitch tension work together. Even on a tight hoop, yanking each stitch will wrinkle the fabric, which is the subject of the guide to embroidery thread tension.
Keep the Weave Straight
Woven fabric is made of threads running in two directions, up and down and side to side. In a well-hooped piece, those threads still cross at right angles and run in straight lines across the hoop.
Fabric stretches far more on the diagonal than along its threads. That is why the pulling is done at the top, bottom, left and right, in line with the weave, and not at the corners of the square. Look at the weave itself, or at any straight line in your traced design, to check. If the lines bow or slant, loosen the screw slightly and ease the fabric back before tightening again.
When the Fabric Keeps Slipping
All fabric loosens a little as you stitch, so expect to pull it taut and retighten the screw now and then. If it goes slack every few minutes, try these fixes:
- Tighten the screw more firmly. Some screws have a slot for a screwdriver, which gives a final, firmer turn than fingers manage. Do not force it.
- Bind the inner ring. Wrapping the inner ring with cotton tape or a strip of fabric gives it a grippier surface that holds smooth or fine fabric much better.
- Check the fabric size. A piece that barely clears the hoop slips out of the rings as soon as it is pulled.
Tip
If the design is larger than the hoop, move the hoop as you go. Loosen the screw well before lifting the outer ring so it does not scrape across finished stitches.
Take the Fabric Out Between Sessions
When you stop for the day, loosen the screw and lift the fabric out, or at least release the tension. Fabric left stretched for days develops a ring-shaped crease where the hoop pressed it, and the longer it stays, the harder that crease is to remove. Dust and oils from handling also collect along the edge of the ring.
Re-hooping takes a minute and gives you a fresh, tight surface each time. When the hoop goes back over stitched areas, tighten gently so the rings do not flatten the stitches more than necessary.
Light hoop marks usually ease out when the finished piece is dampened and pressed face down on a towel. The method, including checking for color bleed first, is in how to wash and iron embroidery. If wrinkles have formed around the stitching itself, the fixes in how to fix puckered embroidery apply.
Frequently asked questions
How tight should fabric be in an embroidery hoop?
Tight enough to feel firm and spring back when tapped, often described as drum-tight, but not so tight that the weave is pulled into curves. The threads of the fabric should still run straight.
Which ring goes on the bottom?
The plain inner ring goes underneath the fabric, and the outer ring with the screw is pressed down over the top. The fabric is gripped between the two.
Why does my fabric keep coming loose in the hoop?
Some loosening is normal, so retighten as you stitch. If it happens constantly, the screw may not be tight enough, the fabric may be too small, or the inner ring may need binding with cotton tape for better grip.
Should I leave my embroidery in the hoop when I am not stitching?
It is better to take it out or loosen the screw between sessions. Fabric left stretched for a long time can develop a ring-shaped crease that is hard to press out.