How to Fix Puckered Embroidery (and Prevent It Next Time)
Why fabric wrinkles around your stitches and five fixes to try in order: re-hoop, ease the stitches, press damp and face down, block, and re-stitch. Plus how to avoid puckers next time.
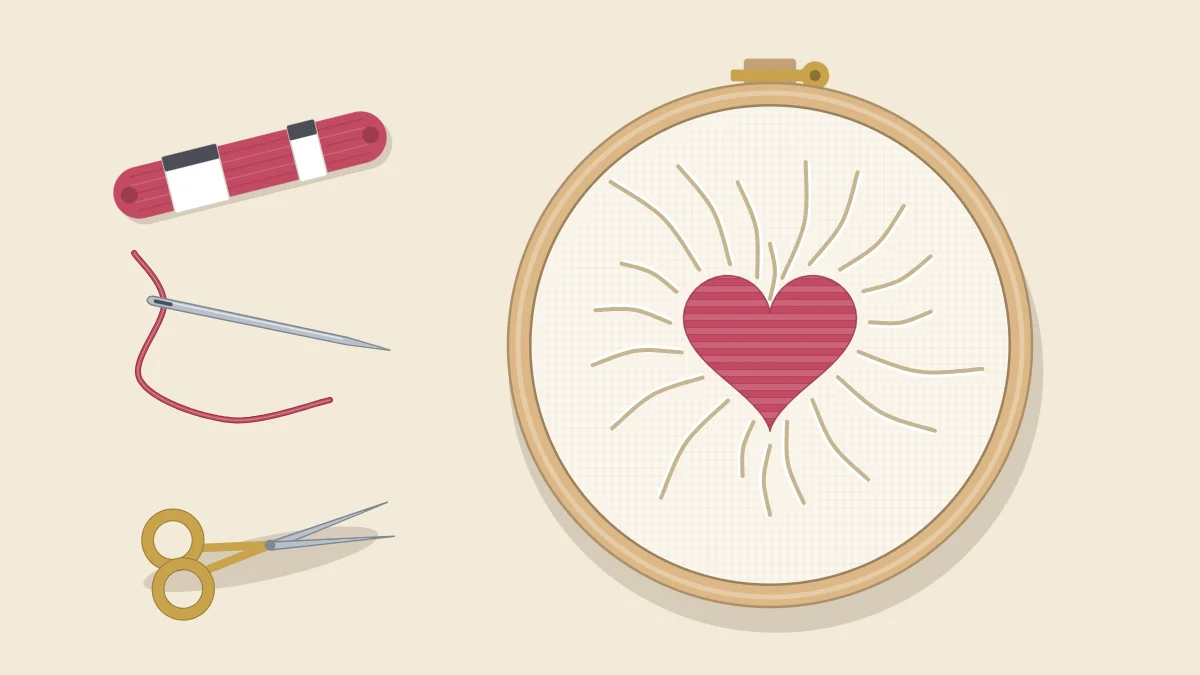
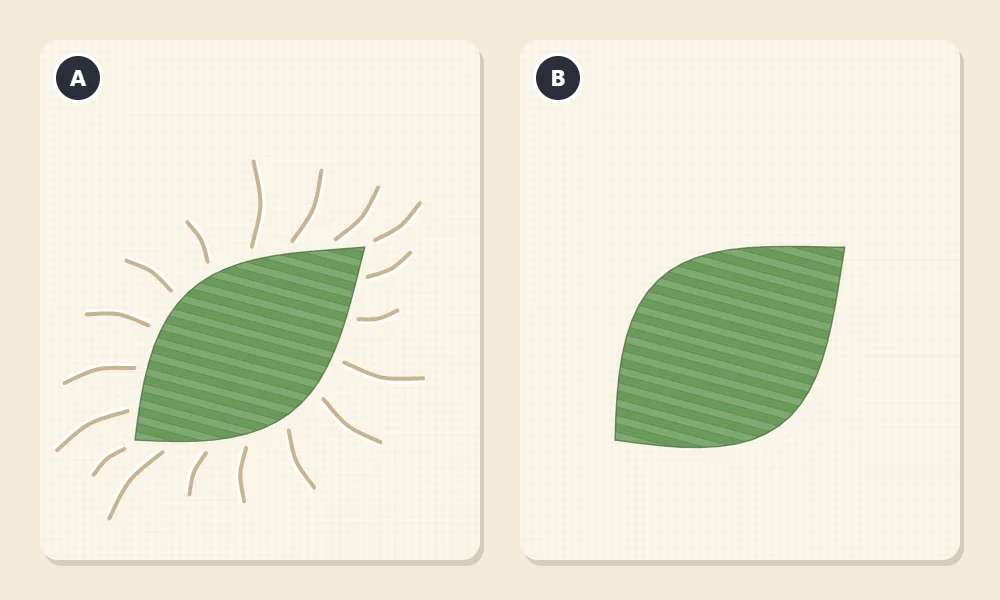
Puckering shows up as small wrinkles fanning out from the stitching, most often around a filled shape, and it tends to look worse the moment the fabric comes out of the hoop. Mild puckering can usually be eased flat. Severe puckering sometimes cannot be removed completely, but it can nearly always be improved. Work through the fixes below in order, starting with the gentlest.
Why Embroidery Puckers
Puckers appear when the stitches hold the fabric tighter than the fabric around them. There are four common reasons.
- Stitches pulled too tight. Each stitch draws its two ends slightly toward each other. Across a whole shape, that adds up.
- A loose hoop. Slack fabric gathers under the thread as you stitch, and the gathers are locked in.
- Fabric that is too thin or stretchy. Lightweight and knit fabrics give way under the pull of the thread far more easily than a medium-weight woven cotton or linen.
- Dense filling. Satin stitch and other solid fills put a lot of thread into a small area. Long stitches packed side by side have the most pulling power of all.
The picture compares the two outcomes on the same leaf.
Five Fixes, From Gentlest to Most Thorough
Stop as soon as the piece looks right. There is no need to do all five.
- Re-hoop the fabric. If the piece is still in progress, take it out and put the fabric back in the hoop, tightening in stages and pulling gently along the straight grain, up and down and side to side, rather than on the diagonal. Light puckers often disappear once the fabric is properly taut.
- Ease the tight stitches. Turn to the back. Slide the tip of your needle under a tight stitch and lift it very slightly to pass a little slack along the row. Work from the middle of the shape toward the thread end. This helps most on line stitches and small fills.
- Press it damp, face down. Take the piece out of the hoop, mist the back with clean water, and lay it face down on a folded towel. Cover it with a thin pressing cloth and press with an iron set for your fabric, lifting and lowering rather than sliding. The soft towel lets the stitches sink in while the fabric around them flattens.
- Block the piece. If pressing is not enough, pin the damp fabric flat and let it dry under tension. The steps are in the next section.
- Take out and re-stitch the worst area. When one shape is clearly the source and nothing else has worked, unpick that shape only and stitch it again with a lighter hand.
Fixes 3 and 4 involve water. Before you dampen anything, check the care information for your fabric and floss and test each thread color for bleeding on the back with a damp white cloth. The full routine is in the guide to washing and ironing embroidery.
Watch out
Do not try to pull puckers out by tugging the fabric on the diagonal. That stretches the weave out of shape and can leave a permanent ripple.
How to Block Embroidery
Blocking means fixing damp fabric in the shape you want and leaving it to dry there. You need a padded board that takes pins, such as a cork board or a piece of foam board covered with a clean, light-colored towel or cotton cloth, and pins that will not rust.
- Dampen the embroidery evenly with cool, clean water. It should be damp through but not dripping.
- Lay it on the board, face up so you can watch the puckers flatten.
- Pin the middle of the top edge, then pull gently straight down and pin the middle of the bottom edge. Do the same for the two sides.
- Work outward from those four pins toward the corners, pulling the fabric gently and evenly and adding pins all around the edges. Keep the weave straight and the corners square.
- Look across the surface. If wrinkles remain near the stitching, move the nearest pins out a little.
- Leave the piece until it is completely dry, which usually means overnight, then remove the pins.
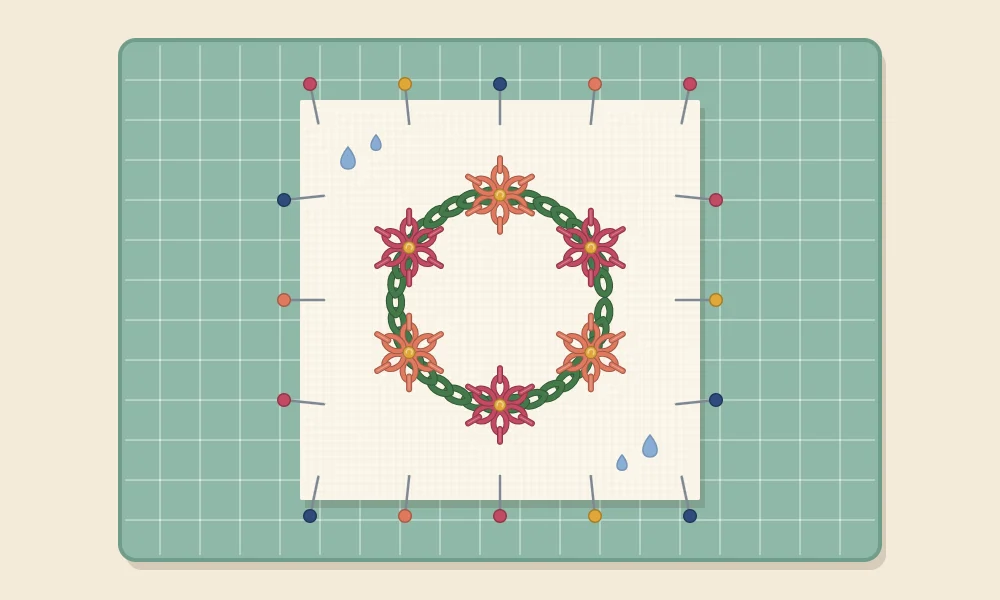
Blocking needs a margin of plain fabric around the design for the pins, which is one more reason not to trim a piece closely until you are sure it is flat.
How to Unpick Stitches Safely
Unpicking is slow, and that is how it should be. The goal is to remove thread without enlarging holes or cutting the fabric.
- Put the fabric back in the hoop so it is taut and easy to see.
- Work in good light, from the back where possible.
- Slide the eye end of a needle, or the point of small sharp scissors, under one or two stitches at a time, lifting them clear of the fabric before you cut.
- Snip every few stitches so the thread comes away in short pieces.
- Pull the pieces out from the other side with your fingers or tweezers. Never drag a long length back through the fabric.
- When the area is clear, rub the holes gently with a fingernail to nudge the weave back into place. A light damp press helps close them further.
Keep scissor points angled away from the fabric, and put scissors and needles away when children are around.
How to Prevent Puckering Next Time
Prevention is easier than repair, and most of it happens before the first stitch.
| Cause | What to Do Differently |
|---|---|
| Tight stitches | Stop pulling when the thread just lies flat on the surface |
| Loose hoop | Tighten until the fabric is drum-tight, and re-check during each session |
| Thin or stretchy fabric | Choose a medium-weight woven cotton or linen blend for early projects |
| Dense filling | Keep satin-stitched shapes small, or divide a large shape into sections |
A few more habits help:
- Practice the feel of an even pull. The article on embroidery thread tension has a short drill for it.
- Pick fabric with enough body to resist the thread. The guide to the best fabric for embroidery explains what to look for.
- For filled shapes, keep individual stitches fairly short. As a rough guide, a satin stitch much longer than about half an inch (1.3 cm) is more likely to pull and to sit loosely, so split bigger shapes into two halves.
- Take the fabric out of the hoop between sessions so it is not stretched in one position for days.
Tip
Check for puckers early. Press a finger beside a filled shape after the first few stitches: if the fabric is already drawing in, it costs a minute to take those stitches out and start again more loosely.
When the Puckers Will Not Come Out
If the fabric itself has been stretched or the fill is very dense, some rippling may remain after blocking. Mounting the piece taut in its display hoop hides a good deal of it, because the tension that flattens the fabric is held there permanently. Treat what remains as a record of where you were when you stitched it, and carry the lighter hand into the next piece.
Frequently asked questions
Can puckered embroidery always be fixed?
Mild puckering can usually be eased out by re-hooping, pressing or blocking. Severe puckering around dense stitching may only improve rather than disappear, and re-stitching the tight area is then the remaining option.
Will ironing remove puckers from embroidery?
A damp press from the back on a folded towel often flattens light puckers. Check the care information for your fabric and floss first, and use blocking if pressing alone is not enough.
Why does my satin stitch pucker the fabric?
Satin stitch packs many long stitches into a small area, so any extra pull adds up quickly. Keep the hoop tight, stop pulling when the thread lies flat, and split large shapes into smaller sections.
Does thicker fabric help prevent puckering?
Yes, within reason. Fabric with more body resists the pull of the thread better, so a medium-weight woven cotton or linen blend is a safer choice than thin or stretchy fabric for early projects.