10 Common Embroidery Mistakes Beginners Make (and How to Fix Them)
Thread that is too long, too many strands, a loose hoop, tight stitches and six more habits that trip up new stitchers, each with a simple way to spot it and put it right.
Most beginner embroidery problems come from a short list of habits, and nearly all of them can be corrected on the piece you are stitching right now. The ten below are ordered roughly as they turn up in a first project, from cutting the thread to finishing the last flower. Each one has a quick way to spot it and a fix.
1. Cutting the Thread Too Long
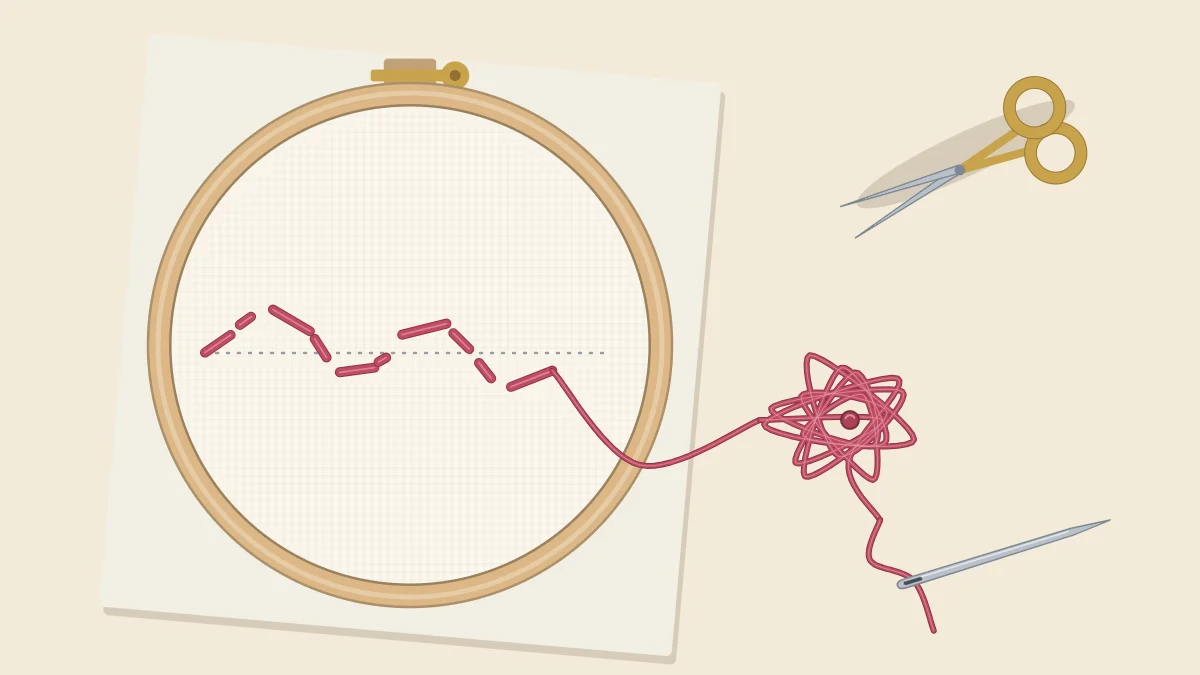
A long thread looks like a time saver because you re-thread less often. In practice it twists on itself, knots, and wears thin and fuzzy from being dragged through the fabric so many times.
The fix: cut a length about as long as your forearm, roughly 18 inches (45 cm). If the thread starts to kink while you work, let the needle hang freely from the fabric for a moment so it can untwist.
2. Using All Six Strands
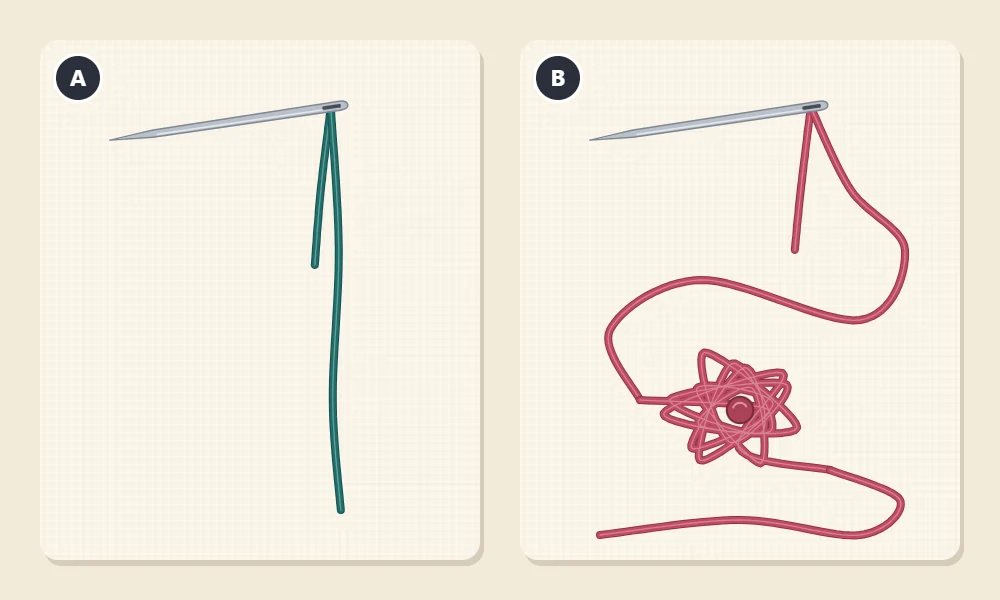
Cotton floss comes as six loosely twisted strands, and it is meant to be divided. Stitching with the full six gives thick, clumsy lines, makes small details unreadable and is hard to pull through tightly woven fabric.
The fix: two or three strands suit most beginner designs, with one strand for fine detail. Pull the strands out one at a time and put them back together, as shown in the guide to separating embroidery floss; strands separated this way lie flatter and tangle less.
3. Working in a Loose Hoop
If the fabric dips when you press it with a finger, every stitch is being worked on a slack surface. The result is uneven stitches and fabric that gathers up around them.
The fix: tighten the screw in stages, pulling the fabric gently all around between turns, until the surface feels firm like a drum. Fabric relaxes as you handle it, so check it again each time you sit down to stitch.
4. Pulling Stitches Too Tight
A firm tug at the end of every stitch feels secure, but it draws the fabric in. You will see small wrinkles radiating from the stitches, and they are still there when the piece comes out of the hoop.
The fix: stop pulling the moment the thread lies flat on the surface. The stitch should rest on the fabric, not bite into it. There is a short practice drill in the article on embroidery thread tension if this one keeps catching you.
5. Carrying Thread Across the Back
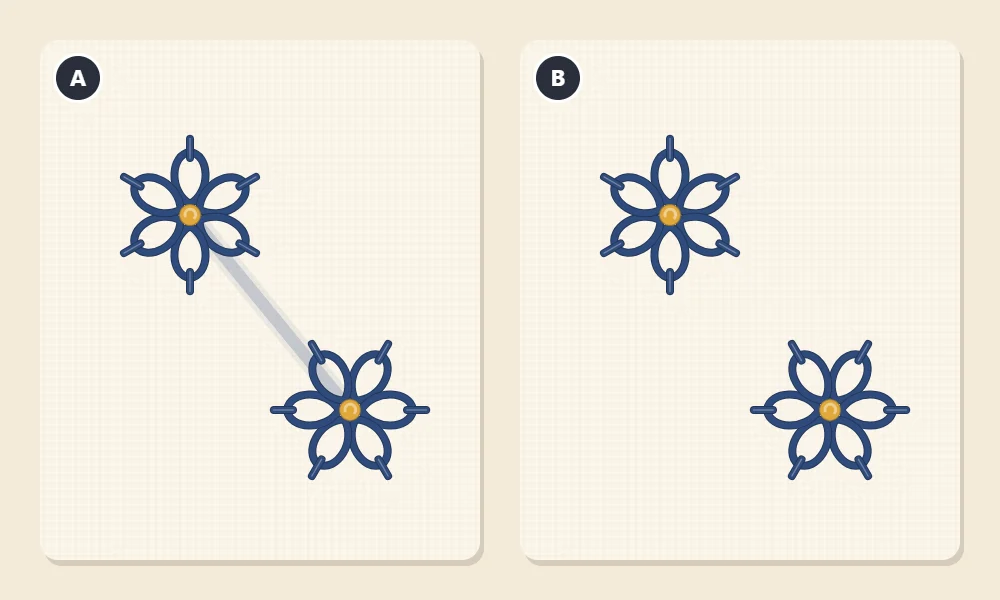
When one flower is done and the next is an inch away, it is tempting to take the thread straight across the back and keep going. On light or thin fabric, that strand shows through from the front as a shadow line, especially with dark colors. Long carried threads can also snag.
The fix: as a rule of thumb, if the next area is more than about half an inch (1.3 cm) away, end the thread and start again. For shorter hops, run the needle under existing stitches on the back instead of across bare fabric.
6. Skipping the Prewash
This one only matters for things that will be laundered: towels, napkins, clothing, bags. Fabric that has never been washed may shrink the first time it is, and the stitching does not shrink with it, so the area around the design can pucker.
The fix: wash, dry and press the fabric before you transfer the design, following its care information. A piece that will only ever hang in a hoop does not need it, although prewashing does remove the stiff finish some fabrics are sold with.
7. Using the Wrong Needle
A needle that is too fine for the thread is hard to pull through and roughens the floss at the eye. One that is too thick leaves visible holes around each stitch. A blunt tapestry needle will not pierce plain woven cotton cleanly at all.
The fix: use embroidery needles, sometimes sold as crewel needles, which have a sharp point and a long eye. Remember that needle sizes run backward, so a higher number means a finer needle. The needle should open a hole just big enough for the thread to pass without a struggle. The embroidery needles guide matches sizes to strand counts.
8. Skipping the Outline on Filled Shapes
Satin stitch worked straight onto a drawn line tends to end up with a wavy, ragged edge, because each stitch finishes in a slightly different place.
The fix: outline the shape first with split stitch or backstitch, then work the satin stitches over that outline, bringing the needle up and down just outside it. The outline gives the edge something to sit against and lifts it slightly. The satin stitch tutorial walks through it on a leaf shape.
9. Relying on Big Knots
There is nothing wrong with a small knot on the back of a practice piece. Trouble starts when the knots are bulky: they make bumps that show on the front once the fabric is stretched in a frame, they can work loose, and on loosely woven fabric they can pop through to the front.
The fix: learn one knot-free start, such as a waste knot or a few tiny anchoring stitches that later stitches cover, and finish by weaving the tail under several stitches on the back. Both are shown in how to start and end embroidery thread.
Tip
Turn the hoop over every so often. Loops, tangles and stray tails on the back are easy to deal with when they are a minute old and awkward once more stitches have locked them in.
10. Rushing
Speed is behind several of the mistakes above. Stitches get longer on straight sections, curves turn angular, and the needle goes down beside the line instead of on it.
The fix: slow down where the design changes direction and shorten your stitches there. Work in good light, and stop when your eyes or hands are tired. Fifteen relaxed minutes usually produce better stitching than an hour of pushing to finish.
A Quick Diagnosis Table
If you can see a problem but are not sure which habit caused it, start here.
| What You See | Likely Cause | First Thing to Try |
|---|---|---|
| Thread keeps knotting | Thread too long or twisted | Cut a shorter length; let the needle hang to untwist |
| Wrinkles around stitches | Tight stitches or a loose hoop | Tighten the hoop; ease off the pull |
| Shadow lines on the front | Thread carried across the back | End and restart between areas |
| Holes around each stitch | Needle too thick | Change to a finer needle |
| Ragged filled shapes | No outline under the fill | Outline first, then fill over it |
| Bumps under the fabric | Bulky knots on the back | Weave tails in instead of knotting |
When to Unpick and When to Leave It
Not every imperfect stitch needs to come out. A good test is to hold the hoop at arm’s length: if you cannot find the flaw without searching, leave it. If it catches your eye every time, take out just those stitches. Slide the eye end of the needle under one stitch at a time to lift it, or snip the stitches carefully from the back and pull out the short pieces, rather than dragging a long thread back through the fabric. Keep small scissors pointed away from the fabric surface, and store needles and scissors out of reach of young children between sessions.
Frequently asked questions
Why does my embroidery thread keep tangling?
The usual cause is a thread that is too long, so it twists as you stitch. Cut lengths of about 18 inches (45 cm) and let the needle hang from the fabric now and then so the thread can untwist.
How many strands of floss should a beginner use?
Two or three strands suit most beginner designs, and one strand is used for fine detail. Using all six at once usually makes lines too thick and the thread hard to pull through.
Is it bad to have knots on the back of embroidery?
Small knots are fine on practice pieces. Bulky knots can show as bumps on the front of a framed piece and may work loose, so weaving thread tails under stitches on the back is the tidier habit.
Should I unpick every mistake I make?
No. If you cannot see the flaw from arm's length, it is usually better left alone. Unpick only the stitches that keep catching your eye, lifting them one at a time.