How to Choose an Embroidery Hoop: Sizes and Types
Wood, plastic or spring tension? 4, 6 or 8 inches? A plain guide to embroidery hoop sizes and types, what makes a hoop grip well, how to bind the inner ring, and working hoops versus display hoops.
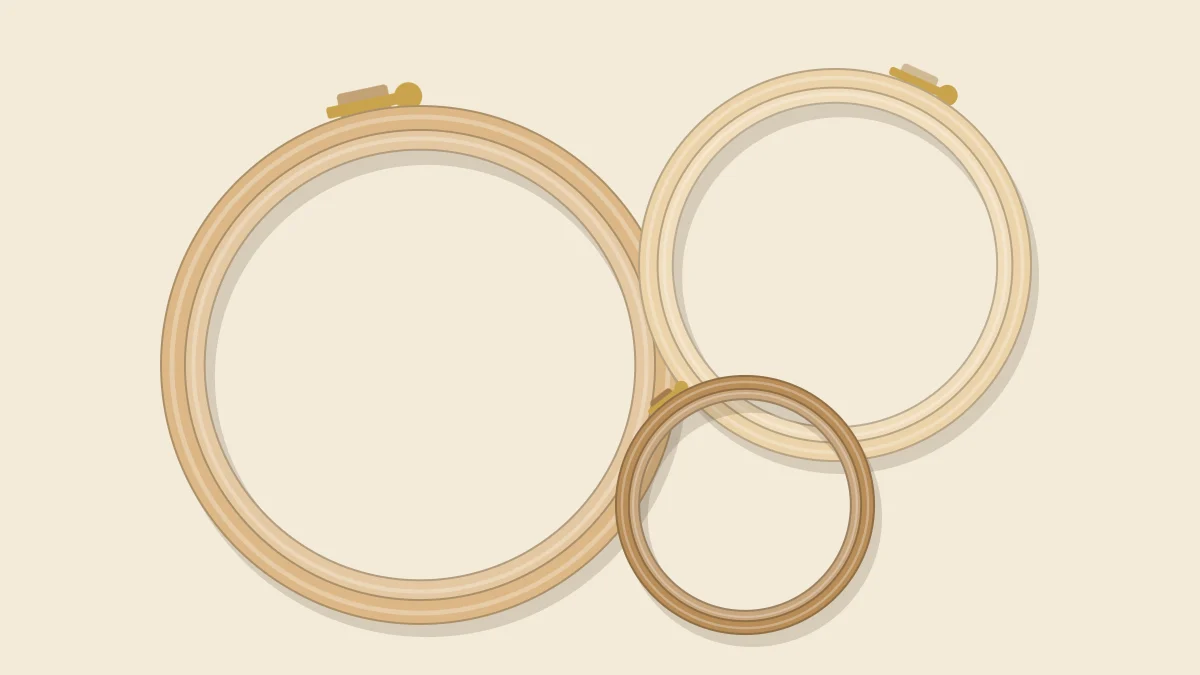
An embroidery hoop has one job: to hold a piece of fabric flat and tight while you stitch. Two rings and a screw do not look like much to get wrong, yet a hoop that lets the fabric sag every few minutes is one of the most common reasons early stitches come out uneven. Choosing well comes down to three questions: what size, what type, and whether the hoop is for working, for display or for both.
How Hoop Sizes Work
Round hoops are sold by diameter, measured across the ring. Common sizes run from about 3 inches (7.5 cm) up to 12 inches (30 cm) or more. The size you need depends on two things: the size of the design and the size of your hand.
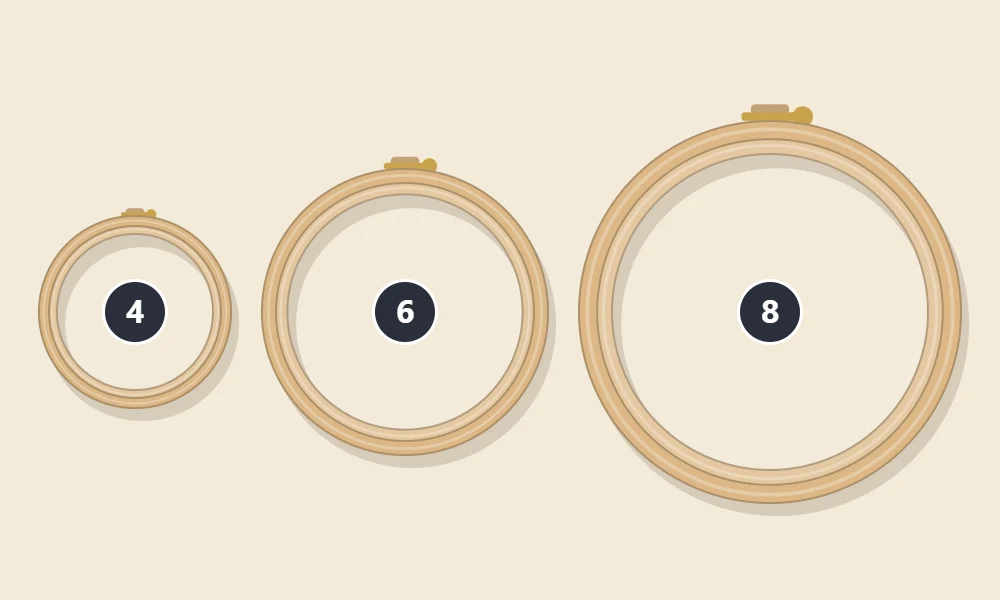
When you stitch, one hand holds the hoop and its fingers reach underneath to support the fabric and guide the needle. With a 5- or 6-inch (13 or 15 cm) hoop, most adults can reach the center of the fabric from the edge without strain. That is the main reason these sizes are recommended for beginners. A very large hoop is tiring to hold and harder to keep evenly tight; a very small one leaves little room to move the needle.
| Hoop Size | Good For | Keep in Mind |
|---|---|---|
| 3 inch (7.5 cm) | Ornaments, tiny motifs | Cramped for learning new stitches |
| 4 inch (10 cm) | Small motifs, initials, children’s hands | Easy to hold; limited design space |
| 5-6 inch (13-15 cm) | Most beginner patterns and samplers | Comfortable reach to the center |
| 8 inch (20 cm) | Larger designs, lettering | Heavier in the hand; more fabric to keep taut |
Fabric should extend at least 1 1/2 to 2 inches (4 to 5 cm) beyond the hoop on every side, so a 6-inch hoop needs a square of roughly 9 to 10 inches (23 to 25 cm). Check this before cutting; guidance on suitable cloth is in best fabric for embroidery.
The Three Main Hoop Types
Nearly every hoop sold for hand stitching is one of three kinds: a wooden hoop tightened by a screw, a plastic hoop tightened by a screw, or a spring-tension hoop that clamps the fabric without a screw.
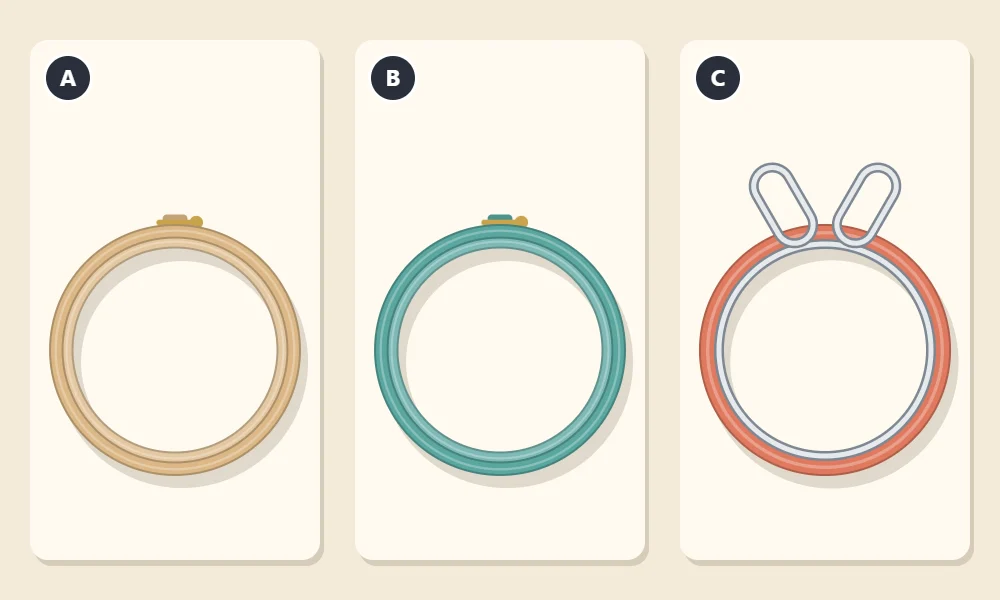
A: Wooden Hoop With a Screw
The classic. Two wooden rings, often beech or bamboo, with a metal screw on the outer ring that closes the gap and squeezes the fabric between them. Wooden hoops are light, pleasant to hold and look good as a frame, which is why most finished hoop art is displayed in one. Quality varies a great deal. A good wooden hoop has smooth, evenly thick rings that sit flush against each other all the way around. A poor one is rough, slightly warped, or has gaps where the fabric can slip.
B: Plastic Hoop With a Screw
Plastic hoops work the same way but are molded, so the rings are consistently round. Some have a small ridge on the inner ring that fits into the outer ring and helps lock the fabric in place. They grip well, do not splinter and can be wiped clean. On the other hand, they are bulkier, the bright colors are not to everyone’s taste for display, and a very firm grip can leave more noticeable creases on delicate fabric.
C: Spring-Tension Hoop
Instead of a screw, this type has a springy metal inner ring with two handles. Squeezing the handles together makes the ring smaller so it can be dropped into a groove in the plastic outer ring; releasing them lets it spring outward and trap the fabric. It is quick to mount and needs no tightening. For hand embroidery the drawbacks are that the handles stick up and catch the working thread, the fabric sits recessed below the rim, and you cannot fine-tune the tension.
What Makes a Hoop Grip Well
Whatever the material, the same few features decide whether a hoop holds.
- Rings that match. Fit the inner ring into the outer ring without fabric and hold them up to the light. You should see no gaps between them.
- A solid screw. The metal fitting should be firmly attached to the wood or plastic and should not bend when tightened. A screw with a slot lets you add a final small turn with a screwdriver.
- A smooth surface. Run a finger around both rings. Splinters and rough patches snag fabric and floss.
- Enough depth. A deeper ring has more surface in contact with the fabric and tends to hold tension longer than a very thin one.
Even a good hoop needs to be loaded properly. Tightening in stages while easing the fabric outward is explained in how to put fabric in an embroidery hoop, and the link between a slack hoop and uneven stitches is covered in the guide to embroidery thread tension.
Binding the Inner Ring
If a wooden hoop keeps letting the fabric loosen, binding the inner ring is the traditional fix. Wrapping the ring in cotton tape gives the smooth wood a slightly soft, grippy surface, and it also cushions the fabric against hoop marks.
- Take a length of cotton twill tape or a strip of cotton fabric about 1/2 inch (1.3 cm) wide. A 6-inch hoop usually takes somewhere around 2 to 3 yards (2 to 3 m), depending on the overlap, so start with more than you think you need.
- Hold the end of the tape against the inside of the inner ring and begin wrapping at a slight angle, so each turn overlaps the previous one by about half its width.
- Pull the tape snug with every turn. The wrap should be smooth, with no ridges or loose spots.
- When you reach the start, trim the tape and fasten the end on the inside of the ring with a few small hand stitches.
- Loosen the screw of the outer ring a little more than usual to allow for the added thickness.
Tip
Bind only the inner ring to begin with. That is usually enough to stop slipping, and it keeps the outer ring looking clean if you later use the hoop as a frame.
A Hoop for Working vs. a Hoop for Display
The hoop you stitch in and the hoop you hang do not have to be the same one. A working hoop is chosen for grip and comfort; it can be plastic, bound, scuffed or smaller than the design, since you can move it around a larger piece as you go. A display hoop is chosen for looks and fit: usually plain wood, clean and unmarked, and sized so the design sits inside with a border of about 1 inch (2.5 cm) of plain fabric all around.
When the stitching is done, the spare fabric is trimmed and gathered behind the ring; the steps are in how to finish the back of an embroidery hoop.
Watch out
Take the fabric out of a working hoop at the end of each session. Left clamped for days, the ring can press a crease into the fabric that is hard to remove, especially where it crosses finished stitches.
A Sensible First Hoop
For a first project, a 6-inch (15 cm) wooden hoop with a sturdy screw, checked for gaps and rough spots, is a good starting point. Add a 4-inch (10 cm) hoop later for small motifs and an 8-inch (20 cm) one when a design calls for it. The rest of a basic kit is listed in embroidery tools for beginners.
Frequently asked questions
What size embroidery hoop is best for a beginner?
A 5- or 6-inch (13 or 15 cm) hoop is the usual recommendation. It is big enough for most beginner patterns and small enough that your fingers can reach the center of the fabric from the edge.
Does the hoop have to be bigger than the design?
Not while you are stitching. A working hoop can be smaller than the design and moved around as you go. For display, the hoop should be large enough to leave a border of plain fabric around the design.
Why does my fabric keep coming loose in the hoop?
The usual causes are rings that do not fit together closely, a screw that was not tightened in stages, or smooth wood that lets the fabric slide. Binding the inner ring with cotton tape often solves it.
Are oval or square hoops harder to use?
They work on the same principle, but tension tends to be less even than in a round hoop, particularly at the corners of square shapes. A round hoop is the simpler choice while you are learning.