How to Transfer an Embroidery Pattern to Fabric: 4 Easy Methods
Four reliable ways to get an embroidery design onto fabric: window tracing, transfer paper, water-soluble stabilizer and iron-on pens, with advice on which suits light or dark cloth.
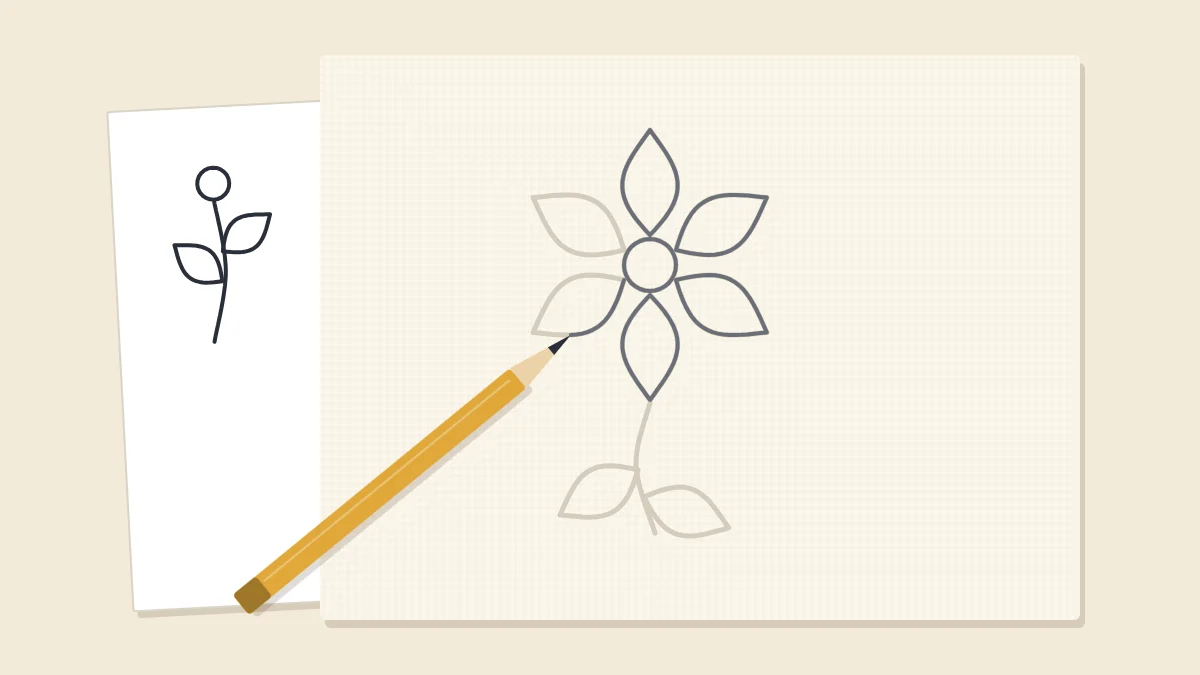
Before the first stitch, the design has to move from paper to cloth, and the lines you put down decide how accurate the finished piece can be. There are four common ways to do it. Which one suits you depends mostly on a single question: can you see through your fabric?
Choose a Method by Fabric
| Method | Works Best On | Marks Are Removed By |
|---|---|---|
| 1. Window or light tracing | Light-colored, thin to medium fabric | Depends on the pen or pencil used |
| 2. Transfer (carbon) paper | Dark, thick or opaque fabric | Usually washing or brushing; check the packet |
| 3. Water-soluble stabilizer | Dark, textured or stretchy fabric | Rinsing the stabilizer away in water |
| 4. Iron-on transfer pen | Light, smooth fabric that tolerates heat | Usually permanent; stitches must cover the lines |
Whichever you choose, start with fabric that is pressed flat and cut with a generous margin, and transfer the design before putting the fabric in a hoop unless the method says otherwise. If you are still choosing cloth, the best fabric for embroidery explains why light colors make this stage easier.
Method 1: Window or Light Tracing
This is the simplest method and needs nothing beyond tape and a marking tool. Daylight coming through a window turns the glass into a lightbox.
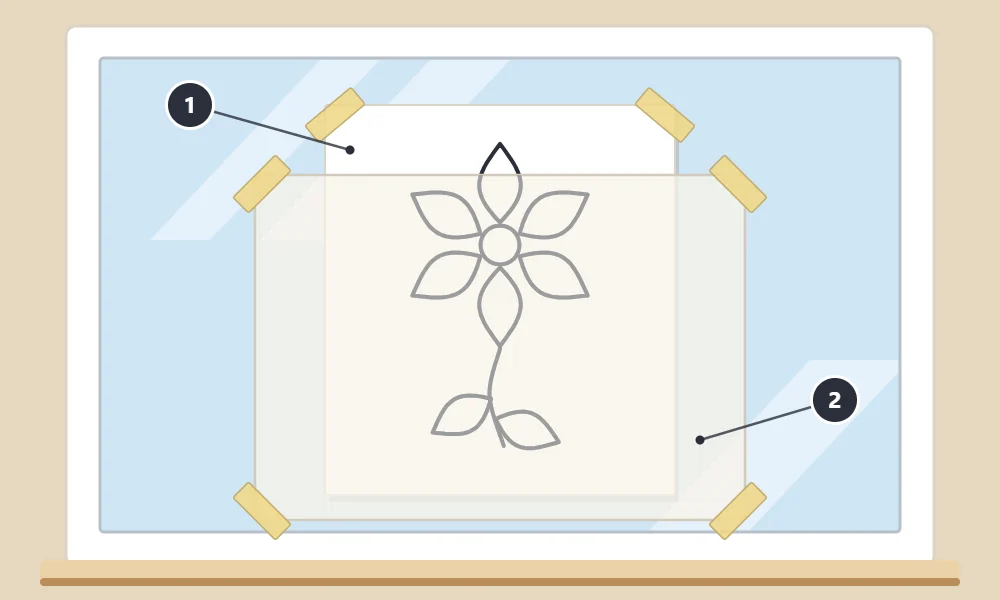
- Tape the paper pattern (1) to a bright window pane, design facing you, with tape at all four corners so it cannot shift.
- Fold the fabric in half both ways and pinch the folds lightly to find its center. Do the same with your eye on the pattern.
- Hold the fabric (2) over the pattern, line up the centers and check that the weave runs straight up and down. Tape the fabric to the glass at the corners, pulling it smooth but not stretched.
- Trace the design with a sharp pencil or an erasable fabric pen, using short, light strokes. Long strokes drag the fabric and distort the line.
- Before removing any tape, step back and compare the fabric with the pattern to be sure no line was missed.
If the lines of a printed pattern are too faint to see through the cloth, go over them on the paper with a dark marker first. A lightbox, or a tablet screen set to a blank white page at full brightness and protected with a clear sheet, works the same way as the window and lets you trace sitting down.
Method 2: Transfer Paper
Transfer paper, often called dressmaker’s carbon paper, is a thin sheet coated on one side with a colored, chalky or waxy layer. Pressure moves that coating onto the fabric, so it does not matter whether you can see through the cloth. It is sold in several colors: choose a light sheet, such as white or yellow, for dark fabric and a darker sheet for light fabric.
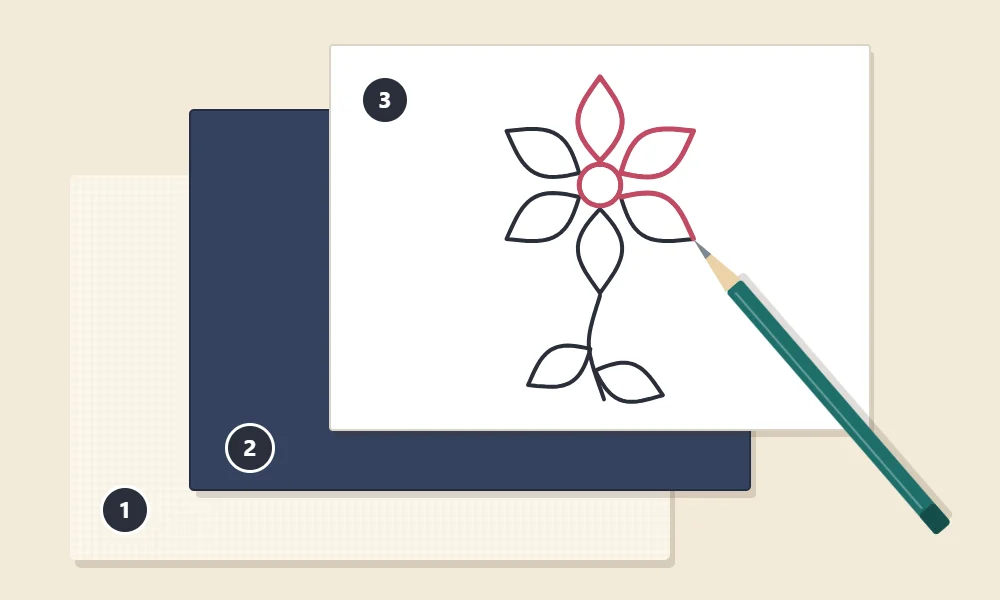
- Lay the fabric (1) right side up on a hard, smooth surface such as a table or a cutting board. A soft surface swallows the pressure.
- Place the transfer paper (2) on the fabric with its coated side facing down, against the cloth.
- Position the paper pattern (3) on top, design facing up, and hold the layers together with tape or pins along one edge so they act like a hinge.
- Trace every line with a stylus, an empty ballpoint pen or a hard pencil, pressing firmly and evenly.
- Lift a corner of the top two layers without moving the hinged edge and check the line on the fabric. If it is faint, lower the layers and trace again with more pressure.
- Remove the layers once every line has transferred.
Tip
Keep the heel of your hand off the stack while you trace. Leaning on it can press a smudge of coating onto the fabric where you do not want one.
Transfer-paper lines can rub fainter as you handle the fabric, so stitch the most detailed areas first, or go over a fading line with a fabric pen.
Method 3: Water-Soluble Stabilizer
Water-soluble stabilizer is a thin, fabric-like or film-like sheet that dissolves in water. You put the design on the stabilizer instead of on the cloth, stitch through both, and then rinse the stabilizer away. Some types have an adhesive back and are simply stuck to the fabric; others are pinned or basted in place.
- Draw or trace the design onto the stabilizer. Some sheets are made to go through a home printer; follow the instructions for your product.
- Trim around the design, leaving a small border, and fix it to the right side of the fabric.
- Hoop the fabric with the stabilizer on top and stitch through both layers as usual.
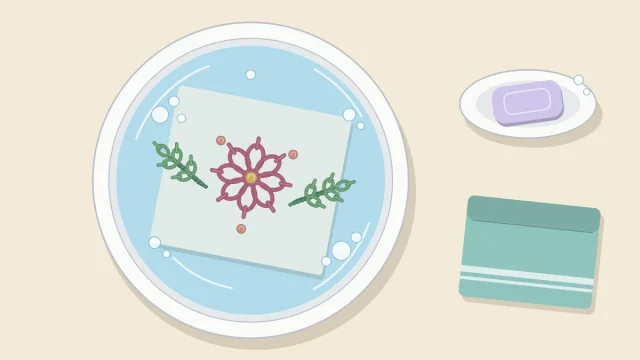
- When the stitching is finished, soak and rinse the piece as the product directs until all the stabilizer has dissolved, then let it dry flat.
This method shines on fabric where nothing else works well: dark colors, textured weaves and stretchy knits, where the sheet also adds stability. Its one condition is that the finished piece must be able to get wet. Check the care label of your fabric and floss and test dark thread colors for bleeding before you soak anything; the routine is described in how to wash and iron hand embroidery.
Method 4: Iron-On Transfer Pens
An iron-on transfer pen or pencil contains ink that moves from paper to fabric under heat. You draw on paper, then iron the paper onto the cloth.
- Trace the design onto plain paper with the transfer pen. The image will come out reversed on the fabric, so for lettering or any design with a direction, trace it onto the back of the pattern or from a mirrored printout.
- Place the paper ink side down on the fabric and hold it in place with pins outside the design area.
- Press with a hot, dry iron, lifting and setting it down rather than sliding it, for as long as the pen’s instructions say.
- Lift one corner to check the line before removing the paper.
The lines are crisp and do not rub off, which is the method’s strength and its drawback: they are usually permanent, so every line has to be covered by stitching. Draw fine lines and stitch right on them. Use the iron on a heat-safe surface, at a setting your fabric tolerates, and keep it out of the reach of children.
Test Your Marks Before You Commit
Marking tools behave differently on different fibers and dyes, and a line that vanishes from one fabric can leave a ghost on another.
Watch out
Before transferring the whole design, make a small mark on a scrap or a hidden corner of the same fabric and remove it the way you intend to: rinse it, warm it or wash it. Also avoid ironing over water-soluble pen lines before rinsing them out, because heat may set the ink.
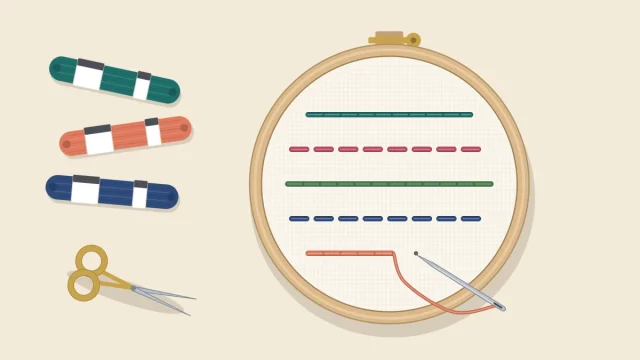
The pens and pencils themselves are compared in embroidery tools for beginners. If your pattern uses dashed lines, dots or shaded areas, how to read an embroidery pattern explains what each one means, so you know which marks need to be traced exactly and which are only guides.
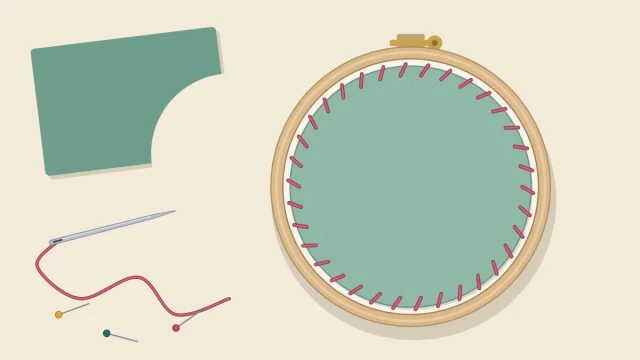
Once the design is on the cloth, center it in the hoop and tighten it evenly, following how to put fabric in an embroidery hoop.
Frequently asked questions
What is the easiest way to transfer an embroidery pattern?
On light fabric, tracing against a bright window is the easiest because it needs only tape and a pencil or fabric pen.
How do I transfer a pattern onto dark fabric?
Use a method that does not rely on seeing through the cloth: light-colored transfer paper or a water-soluble stabilizer that you stitch through and rinse away.
Should I transfer the pattern before or after hooping the fabric?
Usually before. Fabric lying flat on a table or window is easier to trace accurately, and you can then center the finished drawing in the hoop.
Why did my pattern come out backward?
Iron-on transfers print a mirror image because the paper is placed face down on the fabric. Trace the design in reverse first if it includes lettering or has a direction.