How to Start Hand Embroidery: A Beginner’s First Steps
Five basic supplies, ten minutes of setup and three line stitches are enough for a first embroidery session. Here is what to gather, what to learn first and what a first piece really looks like.
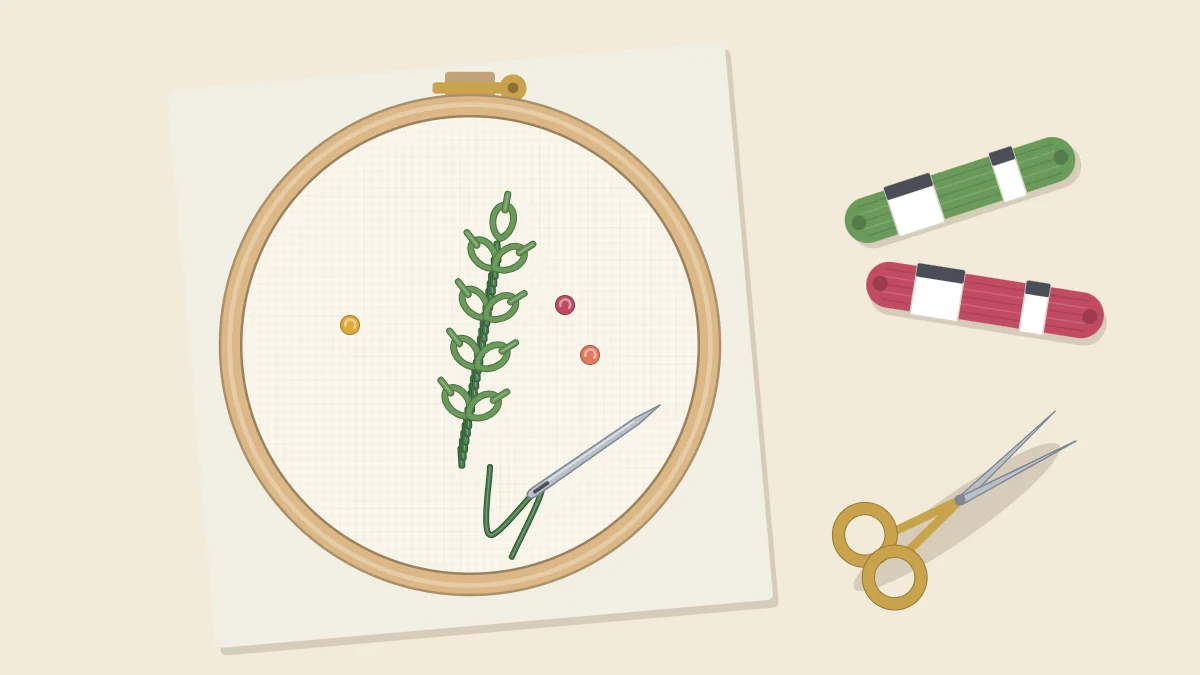
A first embroidery session needs five things, a table with good light and about an hour. Nothing on the list is specialized, and you do not need to know how to sew. Hand embroidery is drawing with thread: the needle comes up through the fabric, goes back down a short distance away, and a line builds one stitch at a time.
What slows most beginners down is not the stitching but the small jobs around it: getting the fabric tight, getting the thread through the needle, anchoring the first stitch. The sections below take those jobs in the order you will meet them.
What You Need for a First Session
The starter kit is short, and every item in it keeps being useful long after the first piece.
- A hoop. A wooden or plastic hoop about 5 to 6 inches (13 to 15 cm) across is a good starting point. It is big enough for a small design and small enough to hold comfortably in one hand.
- A square of fabric. Choose a medium-weight woven cotton or cotton-linen blend in a light, plain color. Cut it about 2 to 3 inches (5 to 8 cm) larger than the hoop on every side so the rings have something to grip.
- A needle. An embroidery needle (also sold as a crewel needle) has a sharp point and a long eye that takes several strands of floss. A mixed pack lets you pick the size that suits your thread.
- Floss. Three skeins of six-strand cotton floss are plenty: one dark, one medium and one bright color that show up clearly against your fabric.
- Small scissors. Short, sharp blades cut floss cleanly and reach close to the fabric when you trim a thread end.
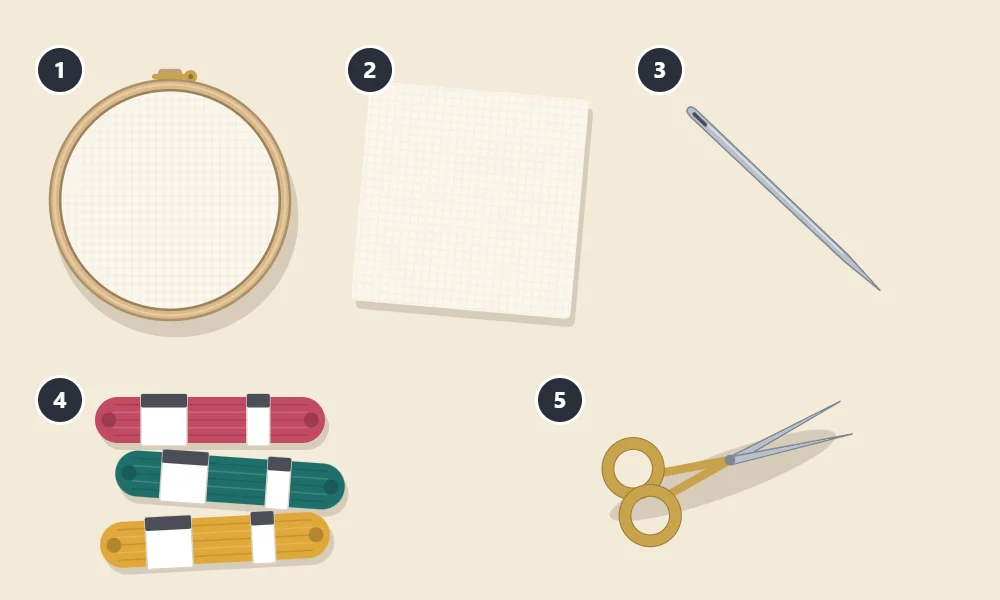
An ordinary pencil for drawing guide lines is the only other thing you need. Needle threaders, thimbles and special marking pens can all wait until you know whether you miss them.
Set Up Before You Stitch
Ten minutes of preparation makes the first stitches far easier. Work through these steps in order.
- Mark a few lines. Press the fabric flat, then draw three or four light pencil lines across the middle, each about 3 inches (8 cm) long and a finger-width apart. These are your practice tracks.
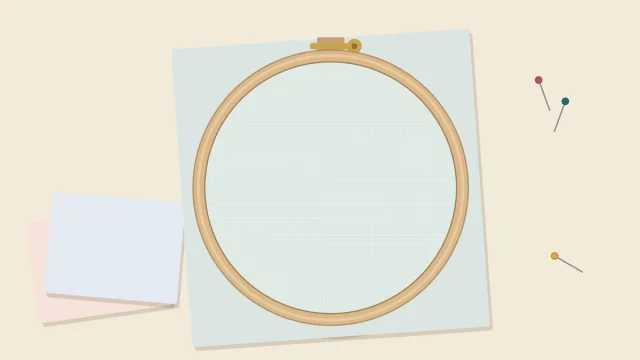
- Hoop the fabric. Sandwich the fabric between the two rings and tighten the screw until the surface is taut and smooth. The full method is in the guide to putting fabric in a hoop.
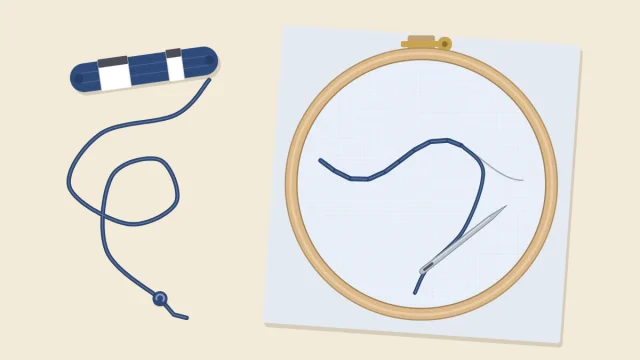
- Cut and divide the floss. Cut a length about as long as your forearm, roughly 18 inches (45 cm). Floss is made of six loose strands, and most beginner stitching uses two or three of them, so you will need to separate the strands before threading.
- Thread the needle. Pass one end through the eye and leave a tail a few inches long. If the end keeps fraying, the pinch-and-fold trick in how to thread an embroidery needle solves it.
- Anchor the thread. Tie a small knot at the long end for now. Neater options are covered in starting and ending a thread, but a knot is fine for practice.
Watch out
A long thread looks like a time-saver and is the usual cause of knots and tangles. Keep each length to about a forearm, and rethread more often instead.
Three Stitches to Learn First
Most simple designs are built from lines, so start with three line stitches. Work one row of each along your pencil lines.
- A: Running stitch. Bring the needle up, take it down a short distance along the line, then leave a gap of the same length before coming up again. The result is a dashed line.
- B: Backstitch. Come up one stitch length ahead on the line, then go back down into the end of the previous stitch. Each stitch touches the last, giving a solid line that is ideal for outlines and lettering.
- C: Stem stitch. Each new stitch overlaps the one before it by about half, with the working thread always kept on the same side of the line. The overlapping stitches twist into a thin rope.
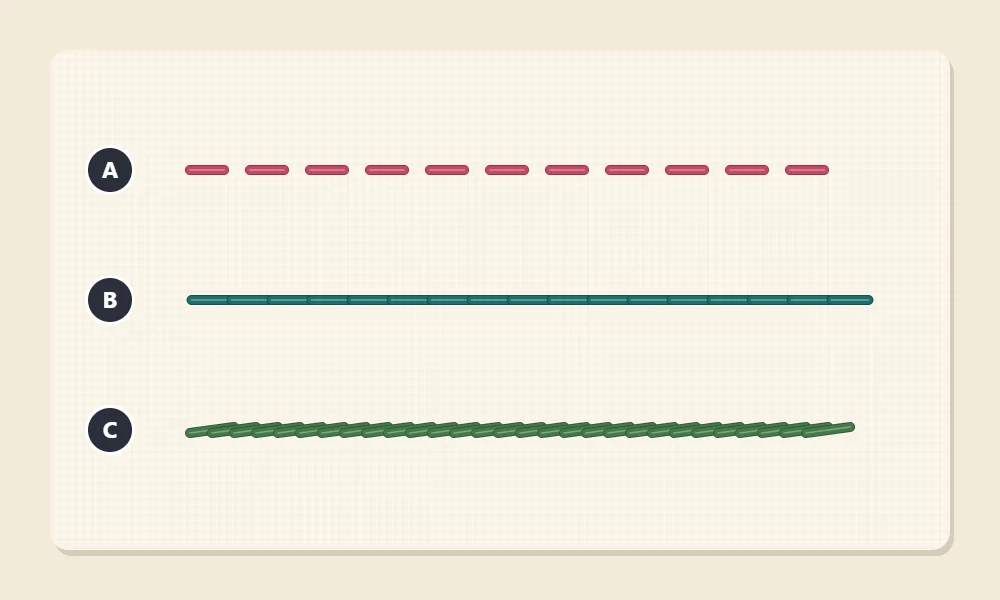
Aim for stitches about as long as a grain of rice. Even length matters more than speed, and it improves noticeably within a single row.
The Order to Learn Things In
Embroidery stitches fall into a few families. Learning one family at a time means each new stitch reuses a movement you already know.
| Stage | What to Practice | What It Lets You Stitch |
|---|---|---|
| 1. Lines | Running stitch, backstitch, stem stitch | Outlines, stems, lettering |
| 2. Loops | Chain stitch, lazy daisy stitch | Bold lines, petals, leaves |
| 3. Knots | French knots | Flower centers, dots, texture |
| 4. Fills | Satin stitch | Solid leaves, hearts, letters |
Fills come last on purpose. Satin stitch looks simple but shows every difference in tension, so it is kinder to attempt once your hands have settled into a rhythm. After the stitches, the next skills are getting a design onto fabric and following a printed pattern.
What a Realistic First Piece Looks Like
Expect wobbly lines, stitches of slightly different lengths and a back that looks like a bird’s nest. That is what first pieces look like, and none of it means you are doing it wrong. The front of the work is what counts while you are learning.
A sensible first piece is not a picture at all but a sampler: a few rows of different stitches in one hoop. It gives you repetition without the pressure of a design to spoil, and it becomes a reference you can look back at. The first embroidery sampler project sets one out row by row.
Resist the urge to unpick every imperfect stitch. Fabric tolerates only so much picking before the holes start to show, and a full row of steady practice teaches more than three perfect stitches redone five times.
Habits Worth Building From Day One
- Pull gently. Stop pulling when the thread lies flat on the surface. Tugging harder wrinkles the fabric around the stitch.
- Let the needle dangle. Floss twists as you work. Every few stitches, let the needle hang freely so the thread can unwind.
- Check the hoop. Fabric loosens as you stitch. Retighten it whenever the surface starts to sag.
- Work with clean hands. Light fabric picks up marks quickly, and they are easier to avoid than to remove.
- Park the needle safely. Keep needles in a pincushion or a scrap of felt, and keep needles and scissors out of reach of small children.
Tip
Sit where light falls onto the front of the hoop, not from behind you. Seeing the weave of the fabric clearly makes it much easier to place the needle exactly on the line.
With the fabric hooped and three rows of stitches finished, you have already done everything a simple design asks for. The rest is the same movements, repeated on a line that happens to be shaped like a leaf.
Frequently asked questions
Is hand embroidery hard to learn?
The basic stitches are simple movements that most people can follow in a first session. What takes practice is making stitches the same length and tension, and that improves steadily with repetition.
Do I need to know how to sew before trying embroidery?
No. Embroidery uses its own small set of stitches, and they are taught from scratch. If you can thread a needle and pull it through fabric, you can begin.
How many strands of floss should a beginner use?
Two or three strands of six-strand cotton floss are a good starting point for practice lines. They are thick enough to see clearly and thin enough to pull through the fabric easily.
How long does a first embroidery piece take?
A few practice rows usually fit into about an hour, including setup. A small sampler or simple motif is often spread over two or three relaxed sessions.